To use these printers, the **ERP Printer application** is required.
[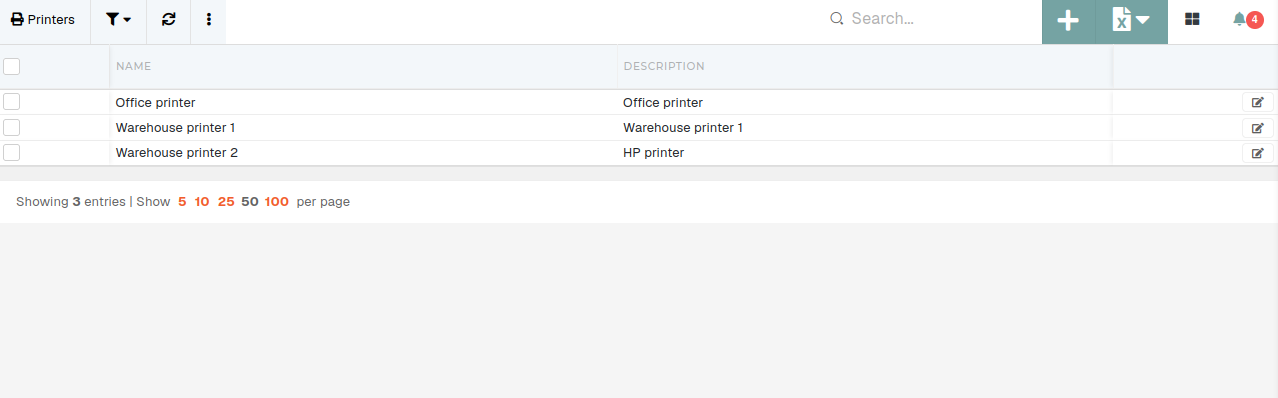](https://how-to-erp.dewesoft.com/uploads/images/gallery/2026-08/cI8image.png) # Create new printerThis action requires the **"create printers"** permission.
A new printer can be created by accessing the create form on the [printers](https://placeholder.erp/printers) table through the **"Create new"** button. 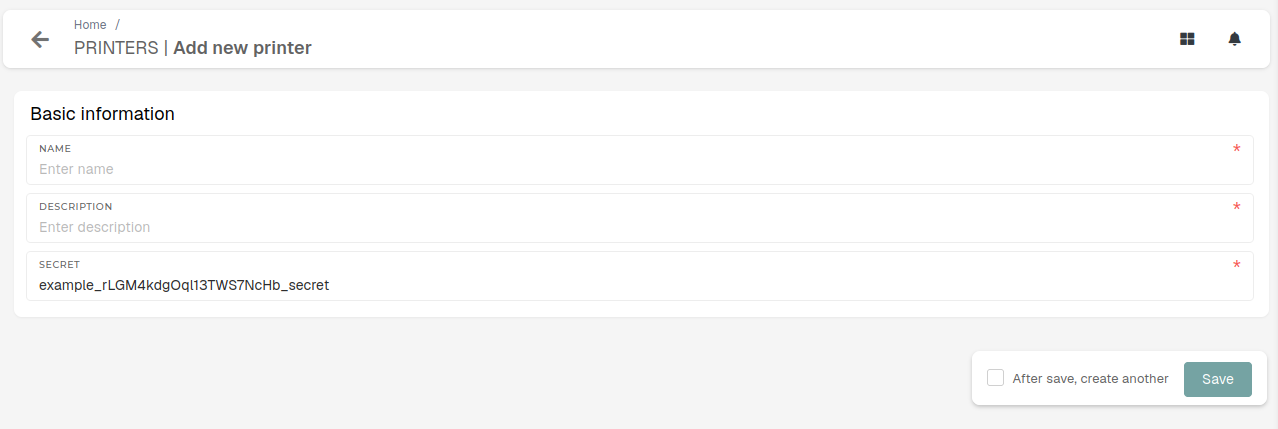 To create a new printer, enter a unique **name** for your printer and its **description**. The printer "**secret**" is generated automatically.It is recommended that the new printer's description should contain information about the printer, to which it corresponds (manufacturer, model, ...) for easier identification in the future.
# Setting up new printerTo **setup** a new printer, the **ERP** **Printer** **application** is **required**.
#### **First-time setup** For **first-time setup,** try to find the **"ERP Printer Software"** options in the **"options"** table. This options should have the software saved in its file manager.If you can't find the option or its file manager is empty, you will have to **contact Web team** **for** assistance with acquiring **ERP** **Printer** **application** and setting up of the application ERP authentication.
First-time setup also requires the creation a **"Printer User",** that the ERP Printer application will use to listen for printing jobs.This user's credentials are **needed** in **printer software's setup,** so it has to be created beforehand. The **user** also **requires** the **"join-printers-presence-channel"** permission.
#### **Add a** **new printer in ERP** The first thing to do is to create a new printer entry via the **"[printers](https://placeholder.erp/printers)"** table create form. After the printer has been created, copy its *"secret",* it will be required for ERP Printer software setup. #### **ERP Printer Setup** Connect the physical printer to the computer, where it will be located and perform the actual printer's setup, including installing correct drivers... Open the **"ERP Printer software"** option and its file manager. The file manager should contain 3 separate operating-system-named archives. Download the archive for your computer's operating system and extract it to a "safe" location.**Safe location** - a folder on your computer that won't be deleted or moved.
[](https://how-to-erp.dewesoft.com/uploads/images/gallery/2026-09/2Jfimage.png) ##### **Windows** Open the extracted folder and start the **"ERP Printer Setup"** program. This will open a windows and prompt you to enter credentials , that will be used to authenticate the application with your ERP.The entered credentials are saved into the **"Windows credentials manager"** and read from there during application runtime.
- **Client ID** - The ID of authentication client, that will be used to authenticate the application. - **Client secret** - The corresponding authentication client's secret. - **User email** - The email of Printer User, which allows the printer application to listen for printing jobs. - **User password** - The password for the Printer User account. Once the credentials have been entered, the application will create a shortcut for the printer on your menu and add it to the computer's startup list. After completing the setup, open the **.env** file and add the missing information. It should contain at least the following data. ``` # Run as a background service RUN_AS_BACKGROUND_SERVICE=true # ERP's API URL ERP_API_URL= # Printers secret from ERP ERP_PRINTER_SECRET= # Auto-select a printer by name instead of being prompted. PRINTER_NAME= ``` Once all this information has been defined, you can perform a test run by opening the **"ERP Printer"** file. If all information has been correctly entered, you should get the following notification: > Printer 'Your-selected-printer' connected to ERP as 'Your-Printer-Name-In-ERP'. Waiting for trigger. You can now attempt to print a document from the ERP to your selected printer. ##### **Linux** Open the extracted folder and open the **.env** file. Fill in the necessary credentials, which will be used to authenticate and connect the printer application with your ERP. Your **.env** file should have all of these filled out: ``` # Run as a background service RUN_AS_BACKGROUND_SERVICE=true # Printer User credentials ERP_USERNAME= ERP_PASSWORD= # Authentication client credentials ERP_CLIENT_ID= ERP_CLIENT_SECRET= # ERP's API URL ERP_API_URL= # Printers secret in ERP ERP_PRINTER_SECRET= # Auto-select a printer by name instead of being prompted. PRINTER_NAME= ``` Once the authentication information has been entered, save the **.env** file and start the **"ERP Printer"** application. After a successful connection to the ERP, a notification will appear: > Printer 'Your-selected-printer' connected to ERP as 'Your-Printer-Name-In-ERP'. Waiting for trigger. After that, you can close the terminal.If you want to setup run-on-startup, this has to be done manually via the operating system tools.
##### **Mac** *The Mac install process is the same as Linux.* Once you find your printer on the list, enter its corresponding number (e.g. 0) when prompted. This will select the printer (e.g. Showroom) and connect to it. A successful connection attempt will generate a **"Websocket connected"** response, like on the image below. #### **Printer Label Setup** When the **printer software - ERP** connection is established, the printer's use can be defined in the options table, in the "**printer\_buttons**" option. Configure the new printer (for labels or normal prints) in the **"data"** field. ```json { "printProductLabel": { "title": "Printer desno", "layout": "no-margin-label-printer", "template": "label", "printer_id": 1, "background-color": "#FFFF00" } } ``` #### **Additional** One started, the printing software will always prompt you to select a printer, to which it should connect and send printing jobs. 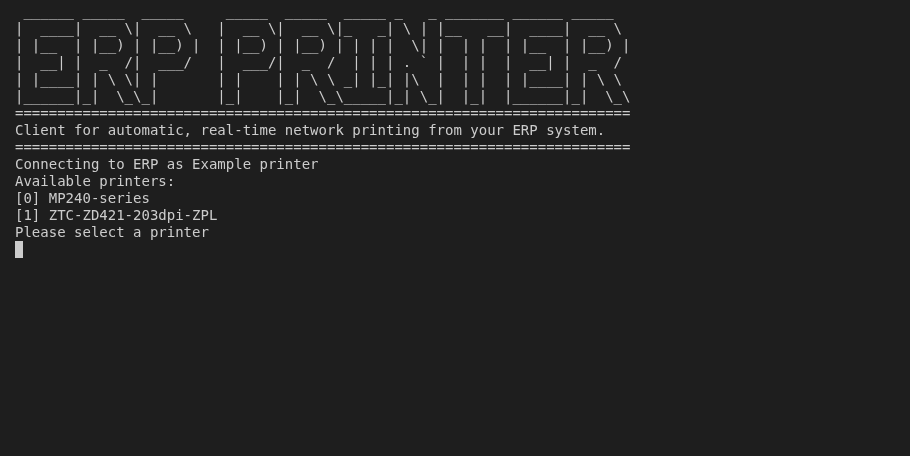 You can edit the environment file so that the **"Available printers"** selection gets skipped and a select printer is chosen automatically. To do this, copy the printer's name from the list and add it in the following line in the environment **(.env)** file, then save it. ``` PRINTER_NAME="printer name" ``` If restarted, the ERP Printer program will now automatically select the pre-selected printer.