Production

Troubleshooting

Troubleshooting

Duplicated serials

Usually this happens because serial was programmed before creation in ERP:
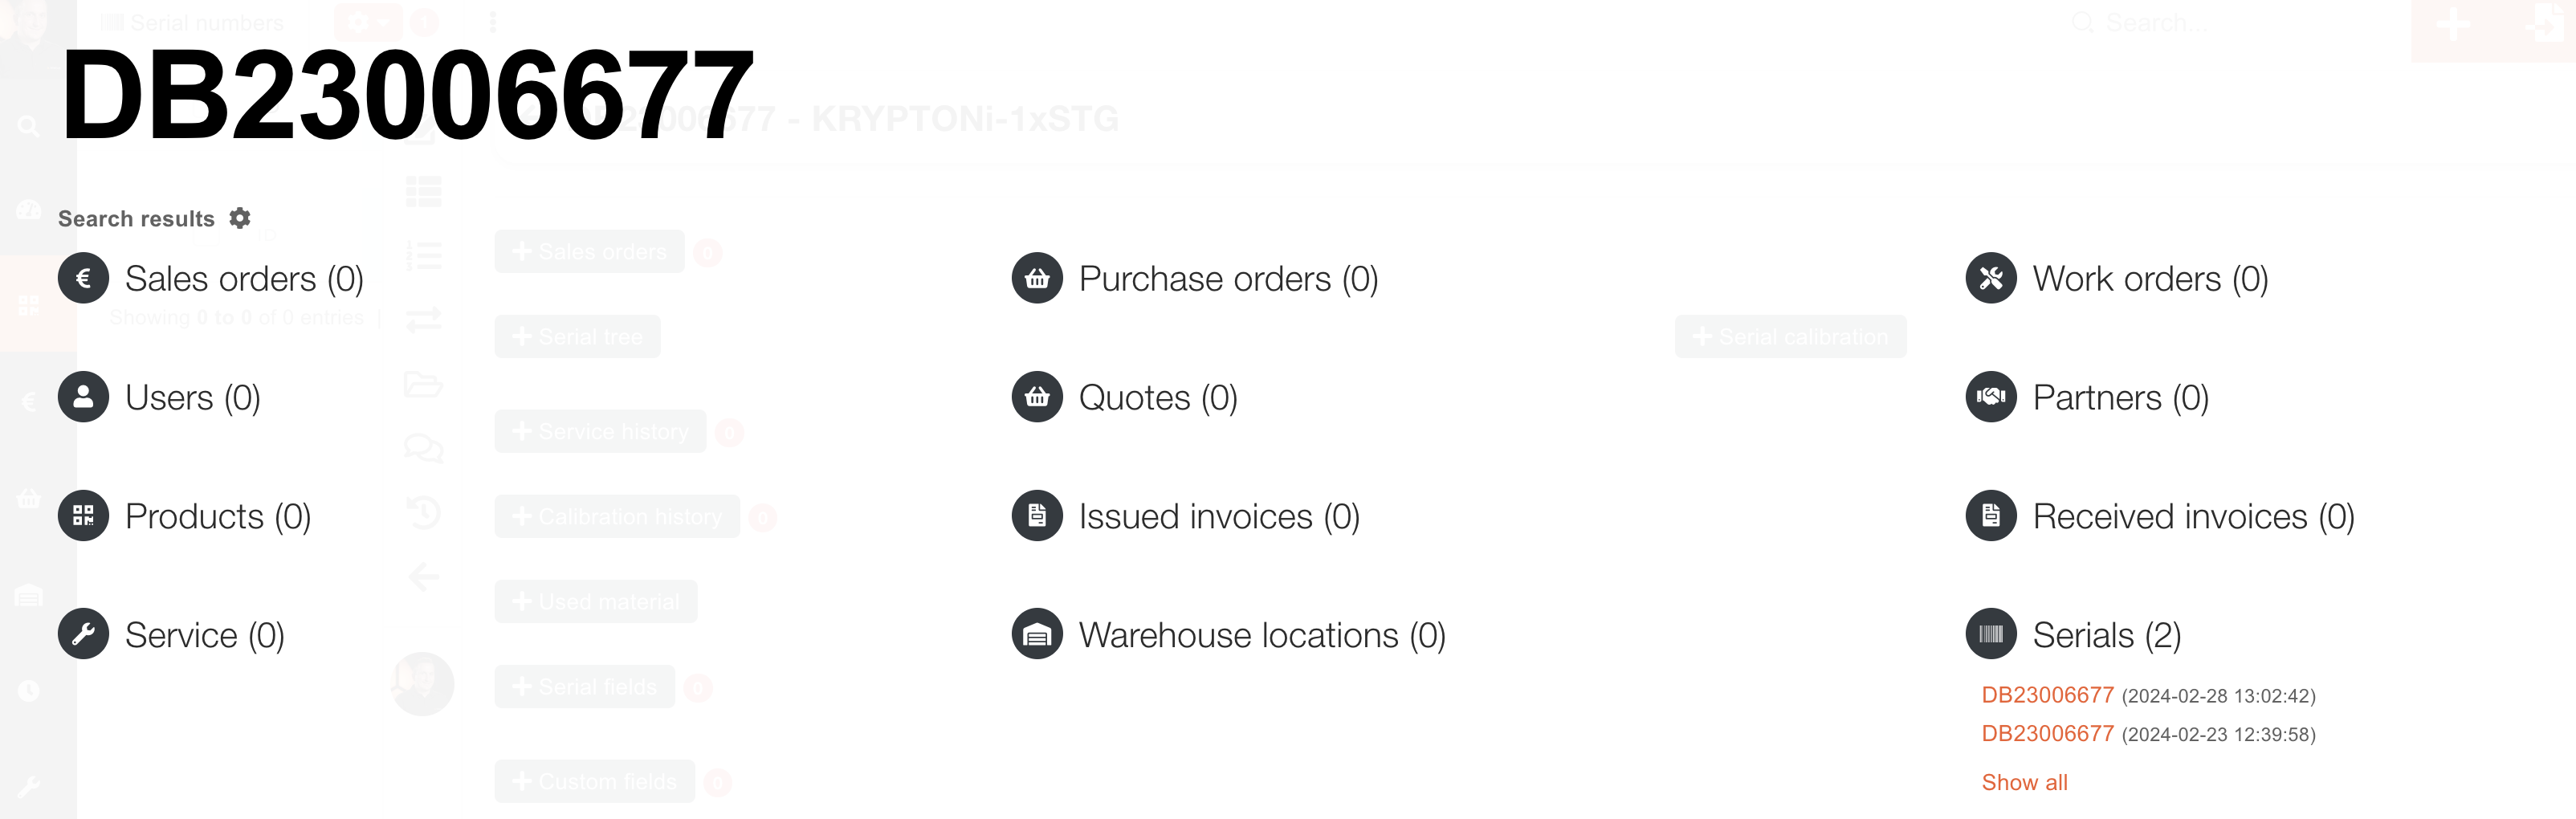
image.png

image.png

image.png

Solution:

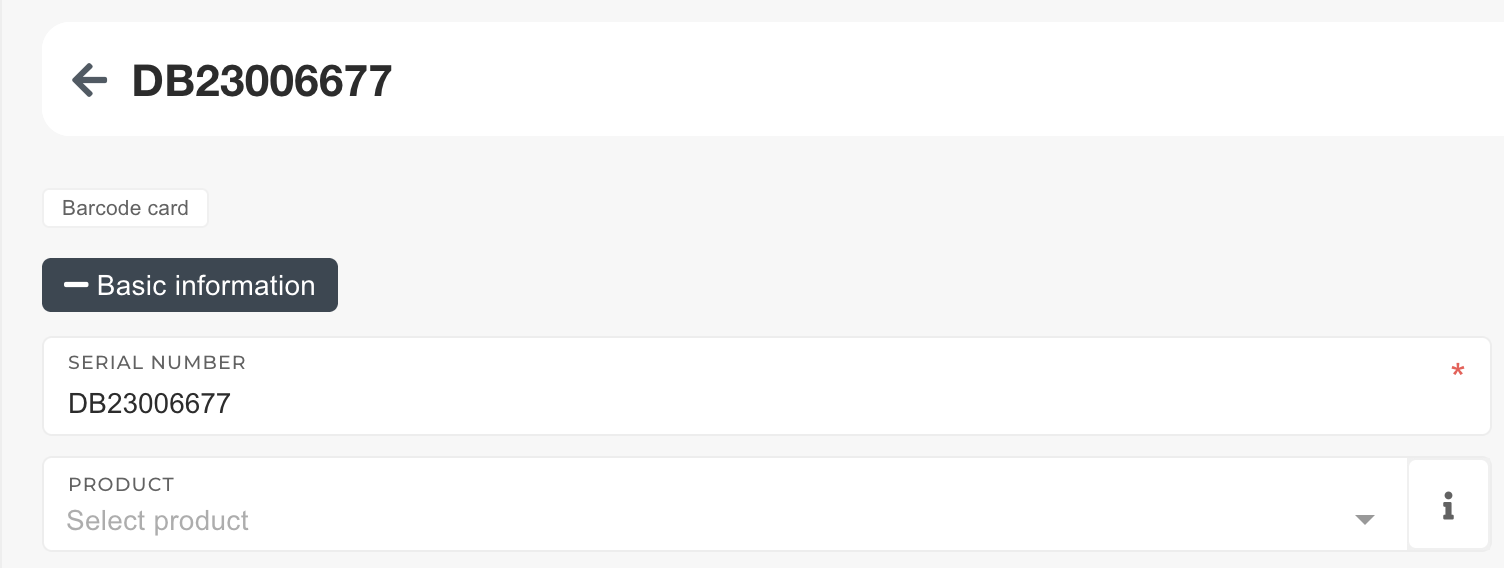
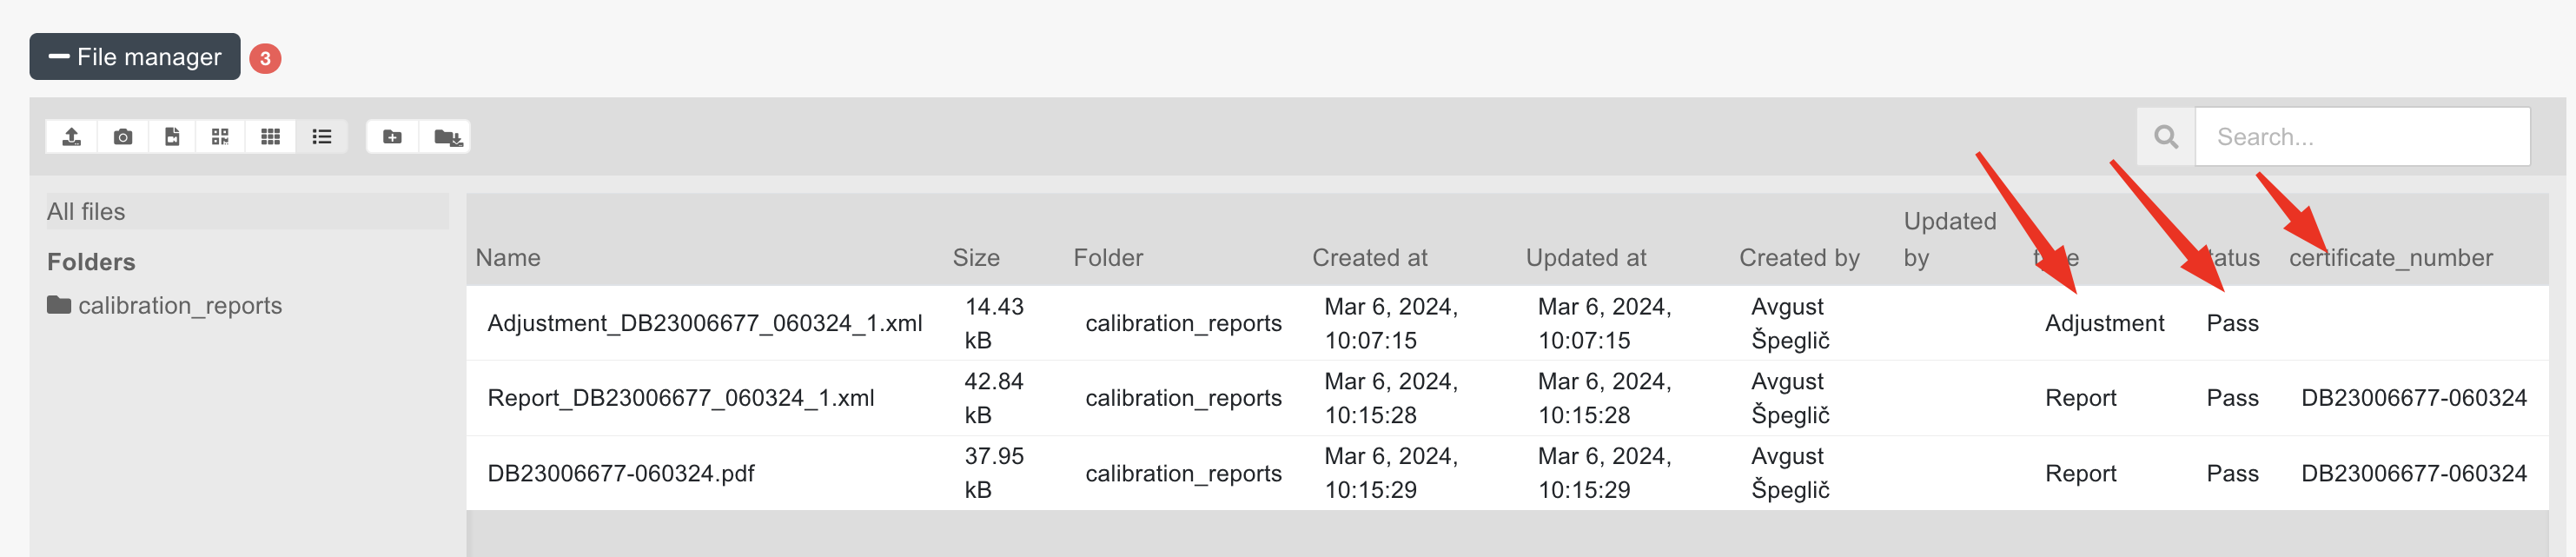
Download calibration files from serial without selected product:

image.png

image.png

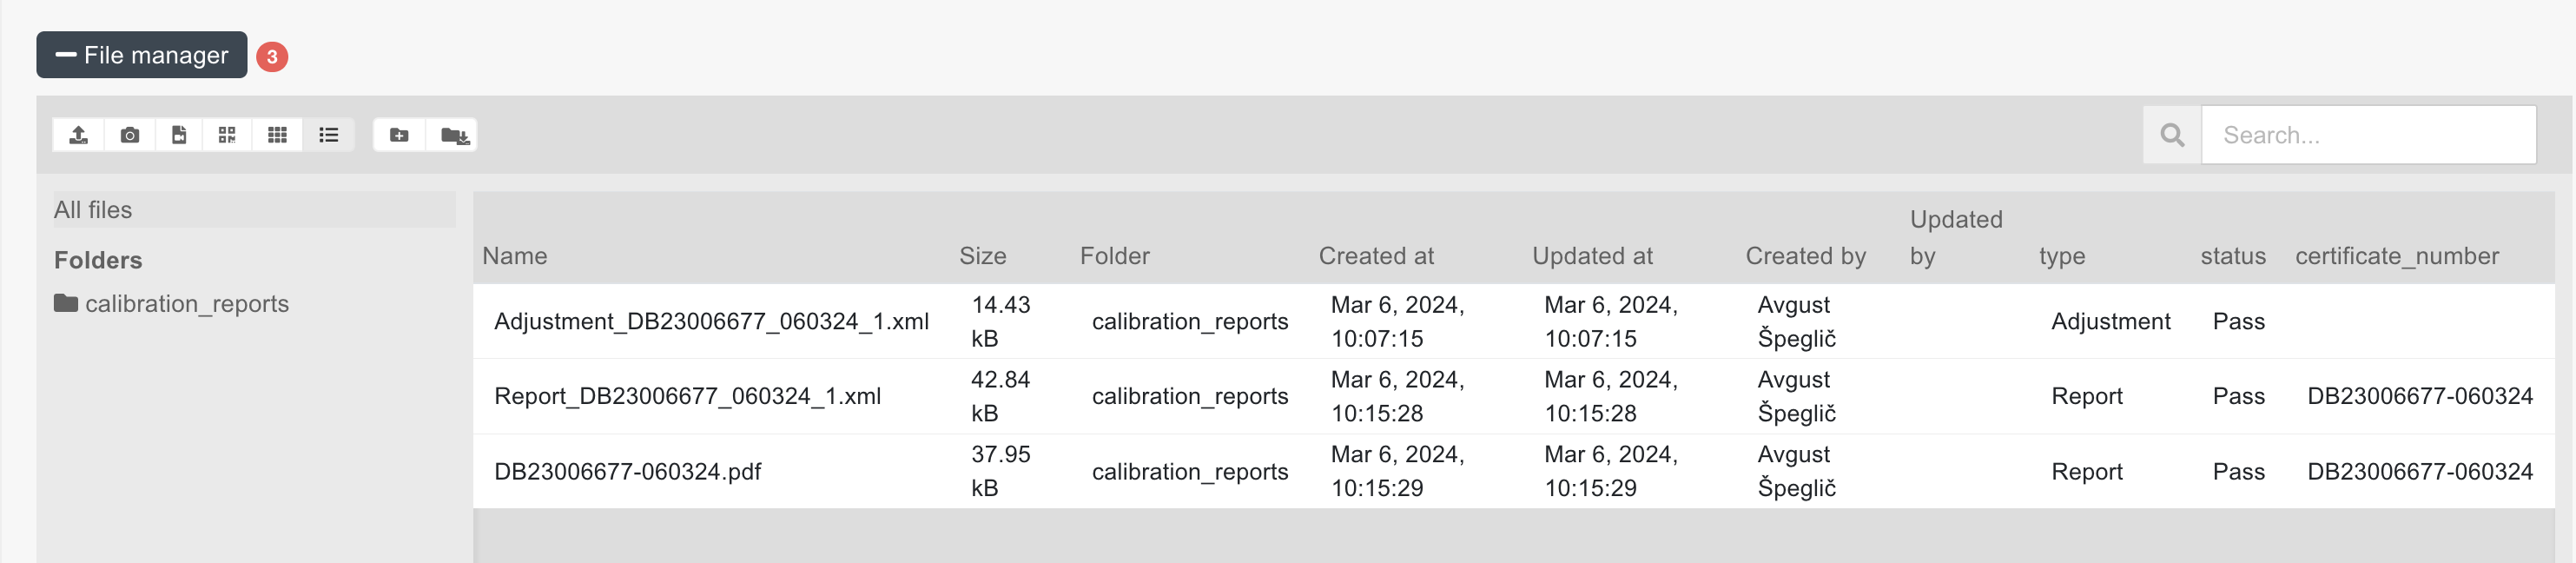
Upload files to other serial to the calibration_reports folder:

image.png

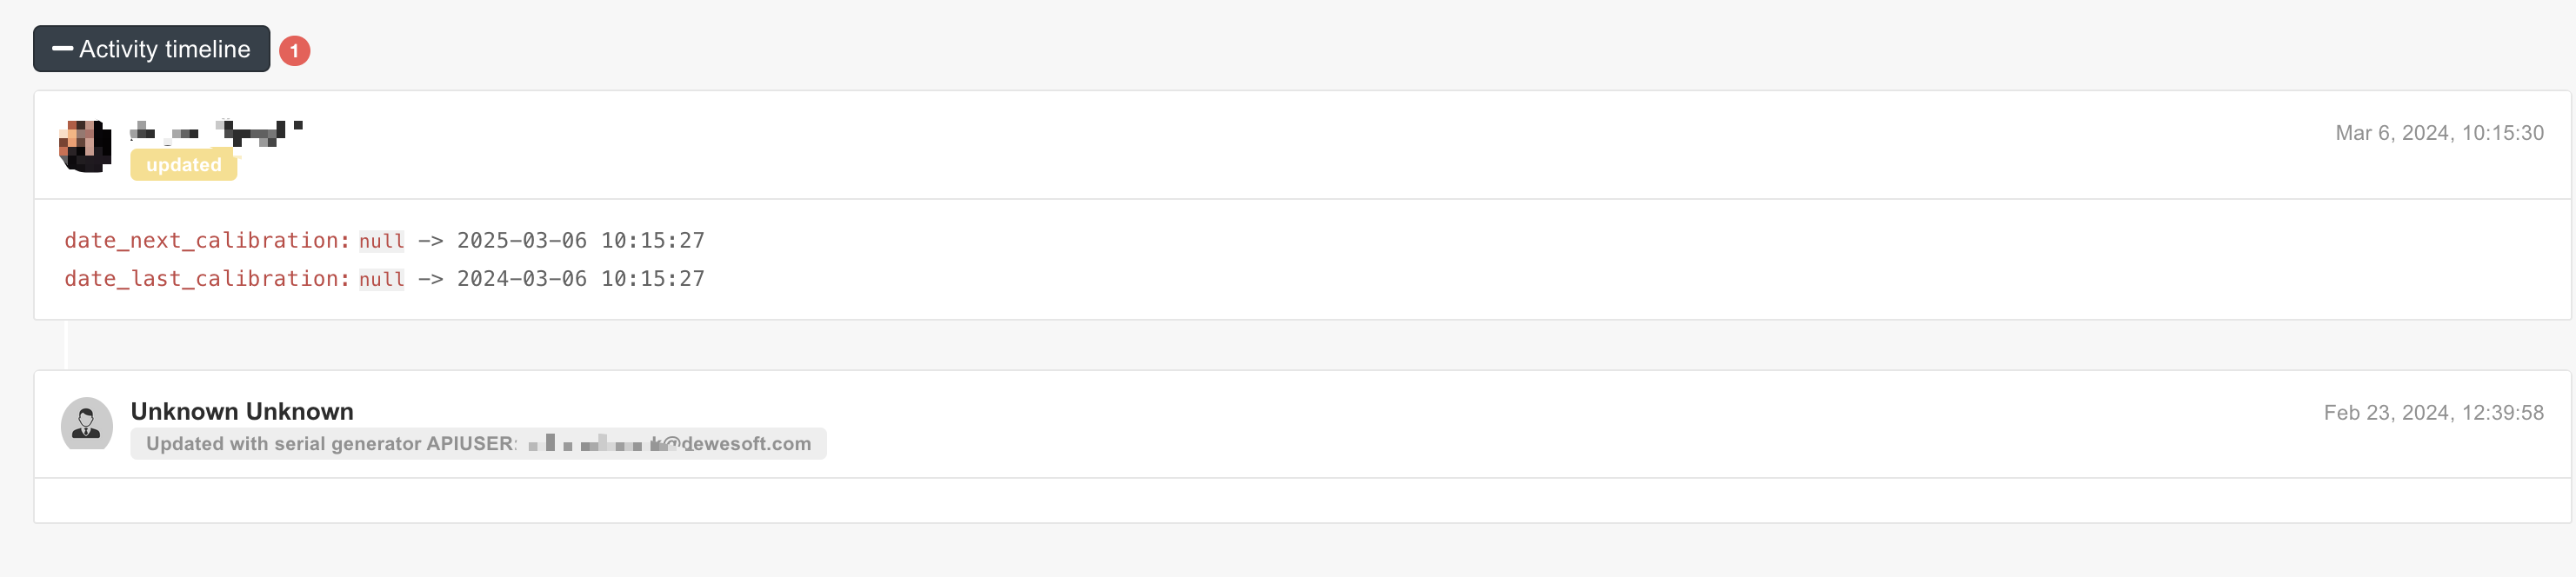
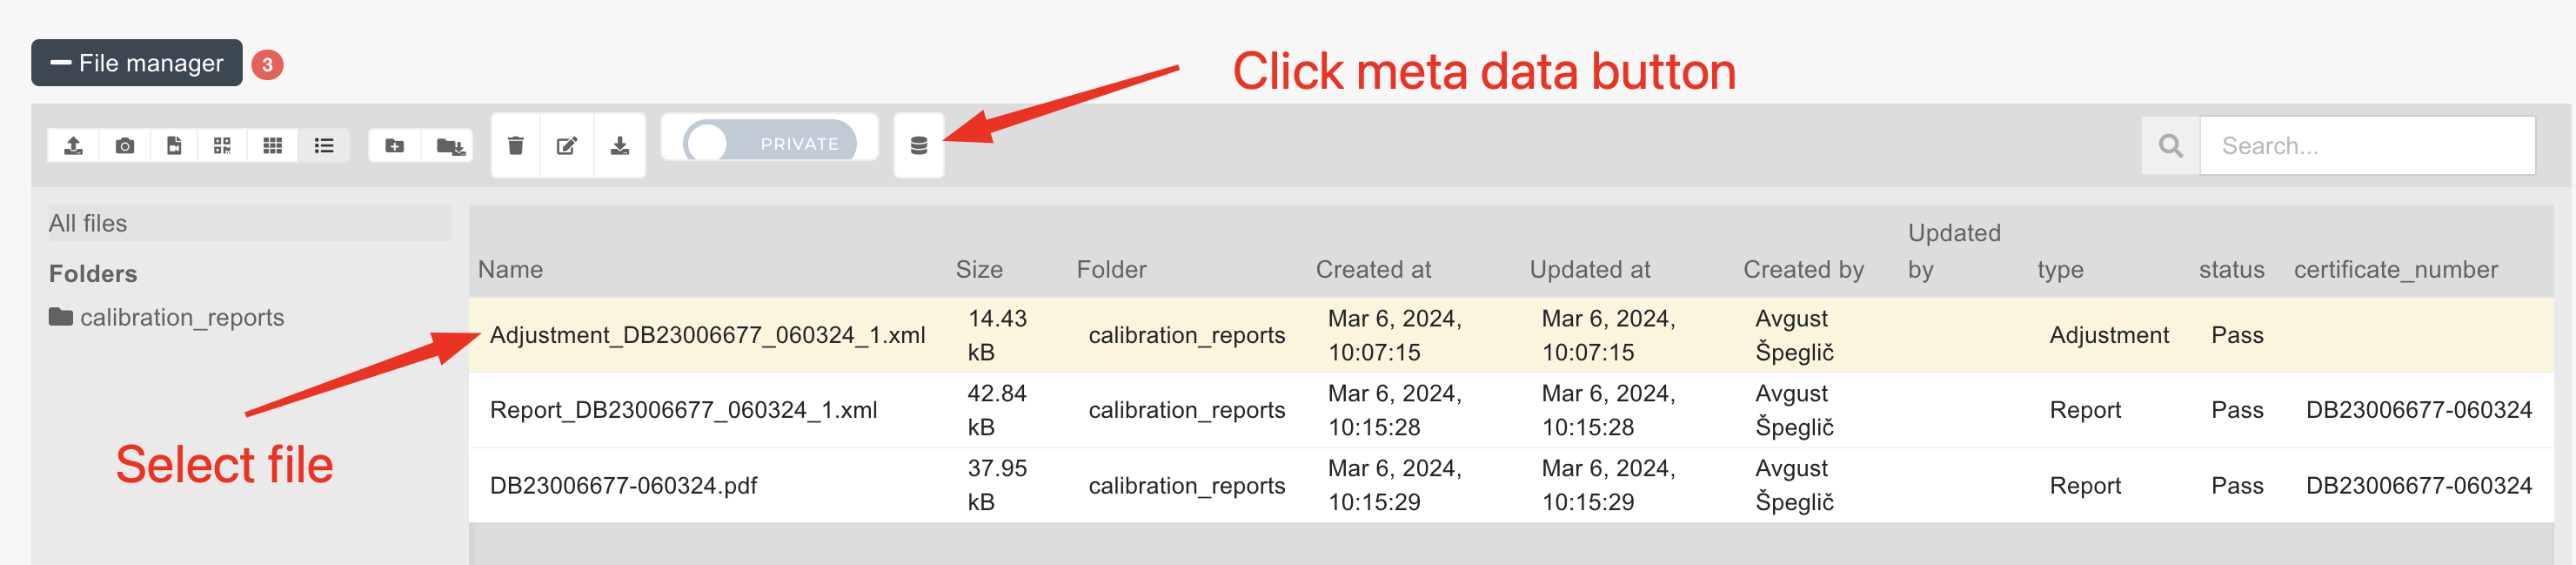
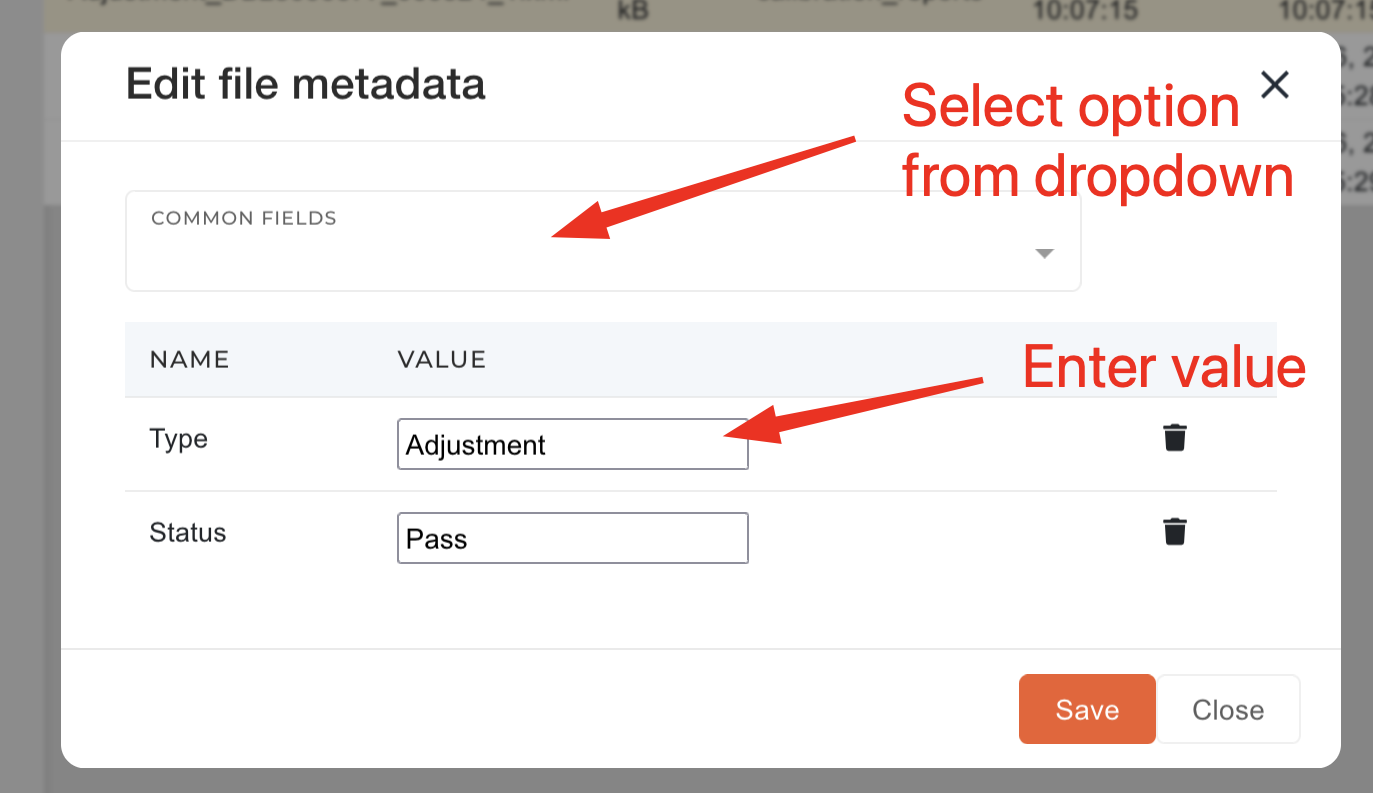
Update additional calibration information on files:

image.png

image.png

image.png

Delete serial without product.

Troubleshooting

Data missing on issued invoice default print

Data missing from marked sections:

image.png

Solution

Looking at the blade file, we found the problem was with serial on sale order.

The problem was, the serial DB20119714 was not added on order sale item with "Link existing instrument serial number" button.

image.png

The serial was not found, because the product of sale order item was not listen under "Configurator data" section (Eligible products when enter serials input)

image.png

image.png

of the SER.0000001.000 product. Once added, the serial was shown in the drop down, could be selected and then linked to the sale order item.  After this, the print displayed the correct data.

image.png

Work orders

Work orders

Reservation of material

Example uses DNC-02264-2020

On work order's page in ERP we click the open the "Bill of materials" section of work order item.

image.png

In the form, we find the material we want to add/reserve on this work order and then we enter the quantity of material to add to the work order. 

Then we click the "Select serials" button, check the listed serials we want to add this material to and click the "Add product" button. This adds the material to the work order item's bill of materials.

image.png

TIP: Unreserved material in the "Bill of materials" list is colored yellow, virtually reserved material is color blue and physically reserved material is color green.

image.png

Once the material is added, we need to physically reserve it. To do this, we press the "Create reservation task"

button on top right corner. This open a modal, where we select ourselves and then press the Create button.

image.png

With the reservation task created, we navigate to Dashboard and start the reservation task, found in the Tasks table. Once competed, the material is physically reserved on the work order.

image.png

Work orders

Unreservation of material

Example uses DNC-02264-2020

On work order's page in ERP we click the "Barcode card" button under work order's document number.

image.png

This opens a modal, that can be used with the barcode scanner. For unreservation of material

we click the "Unreserve" button.

image.png

Clicking the "Unreserve" button creates a unreservation task. You get automatically redirected to that task.

image.png

On the task page, we fill out all the necessary data: 

TIP: All of these fields can be filled by clicking on the data in the table under the "Material on work order item" heading.

image.png

Once all the necessary fields are filled out, click/scan the "Add" button. This will add the product to the unreservation list.

image.png

To finish the unreservation task, we click the "Unreserve and remove from work order item bom" button. This will perform physical unreservation of all material that is on the unreservation list and remove it from the work order.

Order processing

Production

Work order items

Co-operations

Co-operation items

Required products

Wor order item bom

Tasks

Tasks

Complete an open task

This should be done only for tasks that were not automatically closed.

To close a task of a work order, first find it by navigating to the work order's page and opening the "Technologies" section.

image.png

Select the task you want to close from the list that appears and copy its "ID".

Clicking the "scope" icon next to the task's status label will open up a modal with all information about the task.

image.png

After copying the ID of the task, navigate to the "Tasks" table.

It is easiest to find your task in the Tasks table  by filtering the rows by ID.

image.png

1. Open the filters section and click on the "Add filter" icon next to the ID field.

2. Paste your task's ID into the IF filter field and apply the filter.

3. Check the checkbox of your task and click on the "Edit" icon next to the "Completed" column. This will open a tool-tip, where you can set the "Completed" field to today's date.

image.png

A task cannot be closed without a set Completed date value!

4. To close the task, again check the task's checkbox. Now click the "Edit" icon next to the "Status" column.

image.png

This opens up a tool-tip, where you can update the task's "Status" to closed.

image.png

Picker

Picker

Missing product line "Start" button

image.png

If the picker view is missing a button to start picking for a certain production line (eg. SIRIUS), that usually means some settings are missing.

image.png

To enable these settings and display the "Start" button for SIRIUS on the picker view, open a product in cart and add the missing product line information on the product. 

image.png

After refreshing the picker view, the missing "Start" button should be visible.

image.png

Runner