Sales
- Invoicing
- Sales orders
- Update price on sale order item
- Replace product on Merch order
- Demo order management
- Attach serial on sale order
- Sales order items
- Sales forecasts
- Historical sales view
- Quotes
- Quote items
- Issued invoices
- Issued invoice items
- Delivery notes
- Shipping lists
- Packing lists
- Incomes
- Compensations
- Received Invoices
Invoicing
Troubleshooting
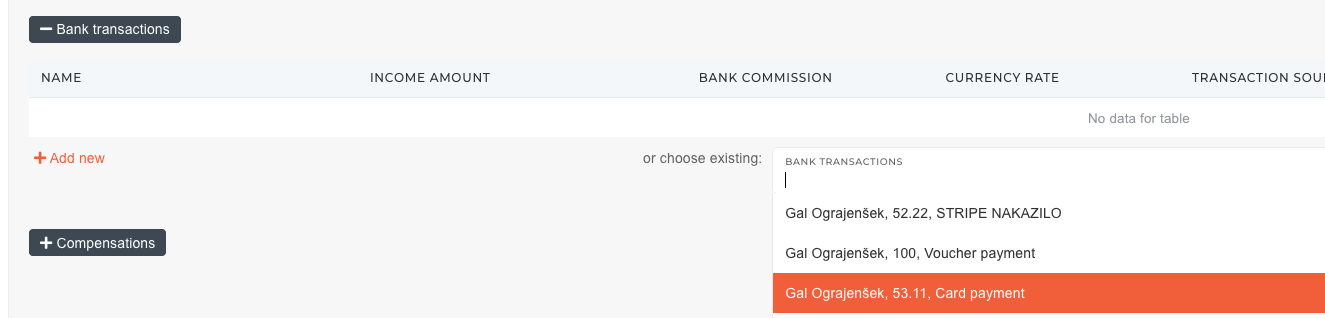
Voucher bank transaction not found on issued invoice
- Go to sales order for this invoice and find bank transaction
- Rename voucher to something meaningful (e.g. Voucher payment - Jure Jager)
- Find this transaction on invoice by new name
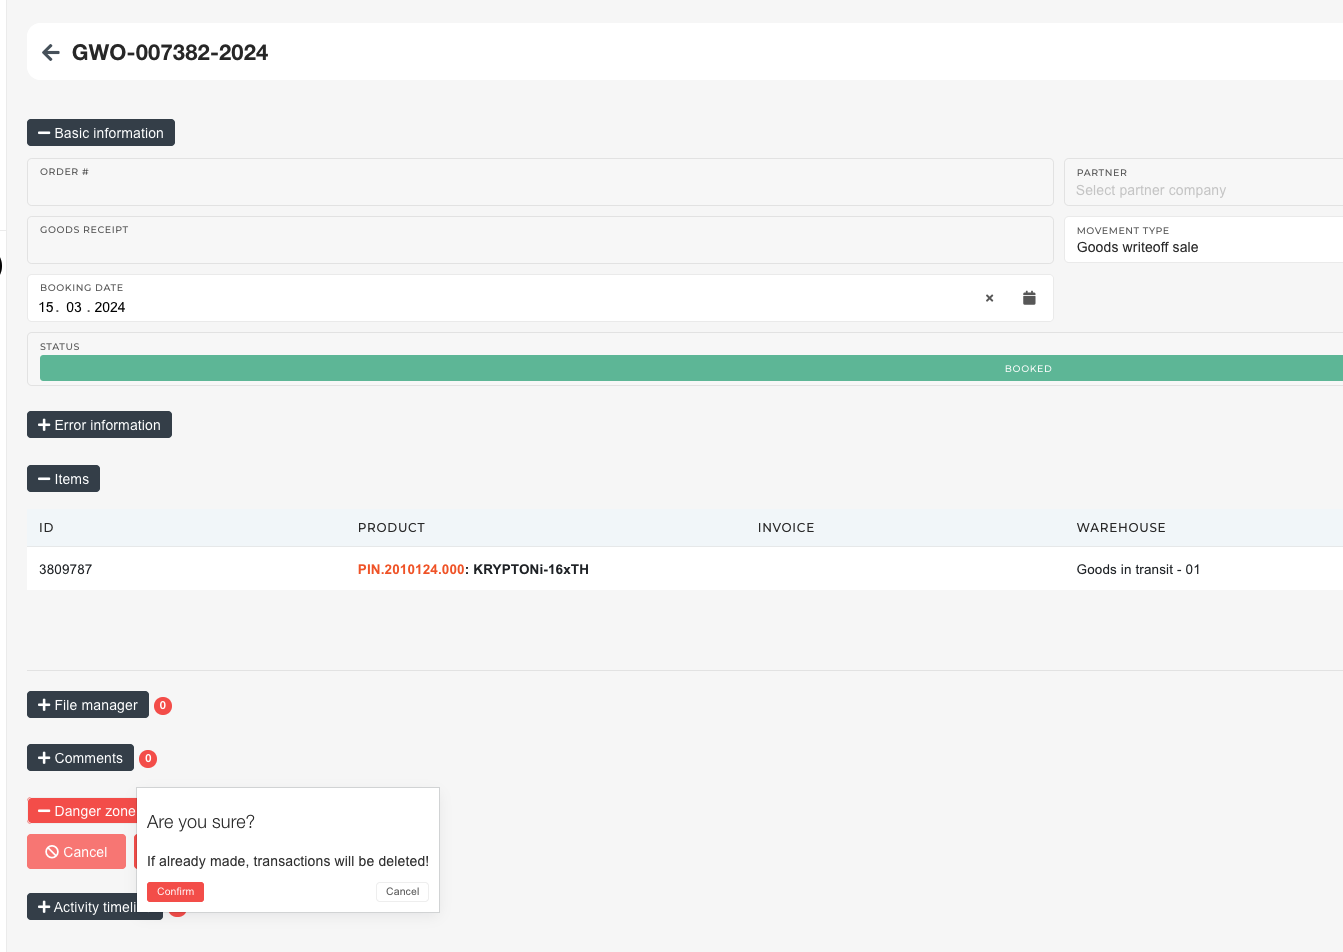
Cancel an issued invoice
If invoice has already been issued and sent to customer, you need to issue a new credit note. You should not modify already sent invoices!
- Open the problematic issued invoice and remove all of its items.
- Update the shipping and financing costs to zero.
- Change status of the issued invoice to canceled.
- Change invoice's delivery note status to canceled.
- Delete shipping list:

- Delete packing list (flow is the same as for deleting shipping list)
- Go to the Packing work order and open it's material flow.
- Find all of the write-off documents:

-
Open each write-off and cancel it (this will remove write-off transactions from database):

- Material is now back on packing work order. Do with it what is necessary.

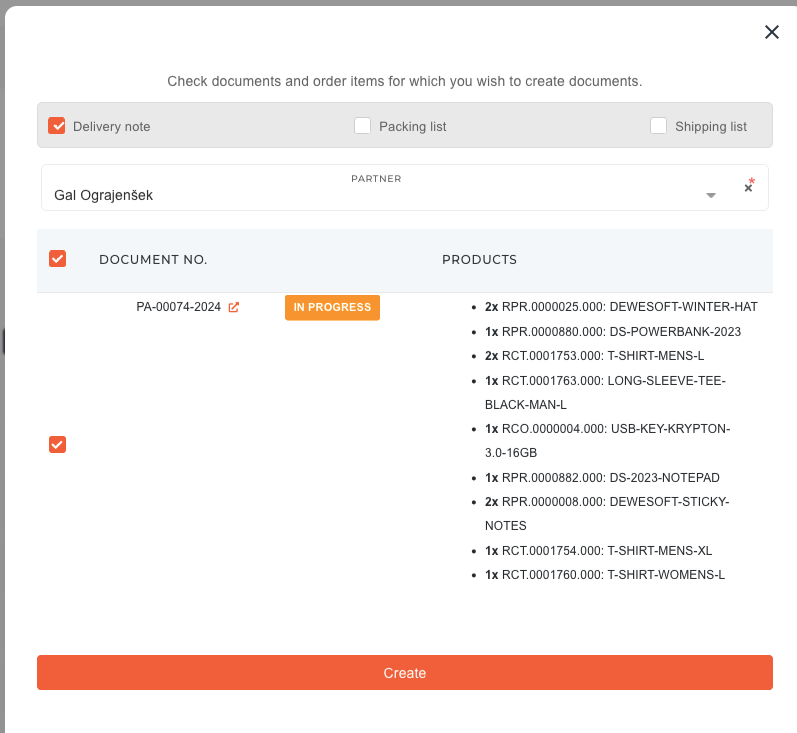
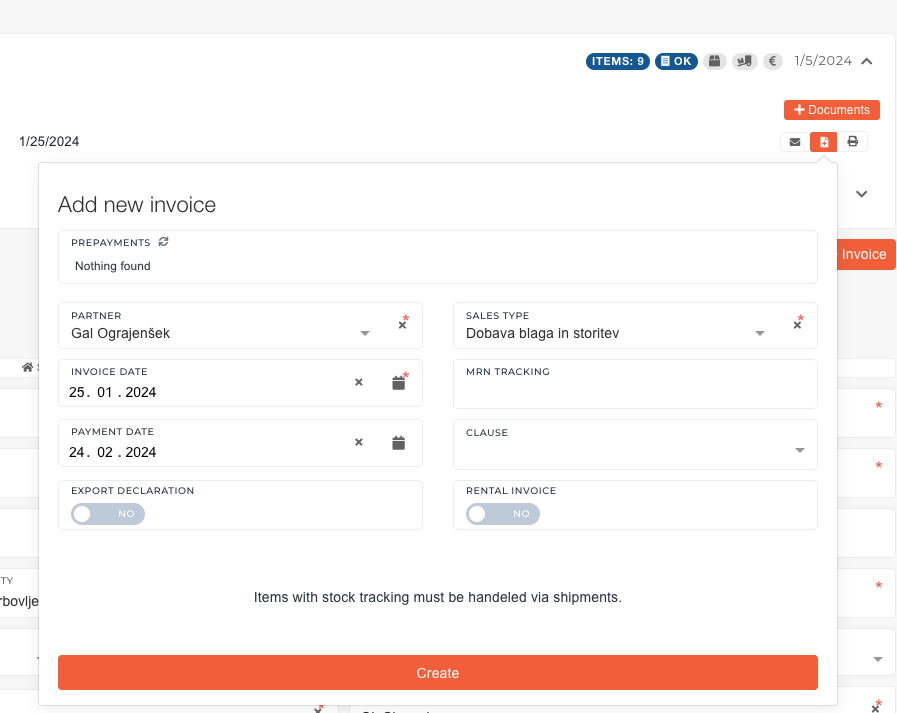
Create an issued invoice for merch order


10. After the invoice was sent, update the status of order to "shipped".
Sales orders
Update price on sale order item
This action requires the "Update order sale items" permission.
Prices on sales orders can be updated directly on items. If price lists are set up, prices can be automatically added from there.
Prices can be only set on child item. Price is then propagated to parent items.

You can set item price to 0. This should only be done for included items. These will then be marked as "bundled".
There is also additional button if you have price lists setup
To change the price of a sale order item, go to "Order items" section and press the "+" button on the item you want to change. Click the "+" to open a section under the item, that lists all parts of the order item (sub-items, associated serials, licenses...).

Here, changing the price of the item will update the actual price of the item, and of the order as a whole.

Replace product on Merch order
Step by step guide to change product on "merch" order:
Please note: you will need Order processing, Human Resources and Head of logistics people to complete this process.
Go to the order's details page and change the order's status to NEW.

Go to the order's packing work order and change its status to NEW as well.
Move the packing work order item to another packing work order. Leave everything empty.

Find the new packing work order and go to its material flow. Find the goods writeoff and click on it. Scroll down and cancel the goods writeoff:

Now the material can be unreserved from this packing work order.
After the material has been unreserved form the packing work order, the packing work order must be canceled.
With the packing work order canceled, go to work order's issued invoice and delete correct item on it.

The correct item also has to be deleted on the merch order.

After that, add a new item to merch order. Go to Order processing and add the new item to existing packing:

Then virtually and physically reserve item.
The item has to be written off. This is currently handled by the Web department. Send an mail to web@dewesoft.com)
Change the status of order's invoice to NEW and update it:

Then, change the status of the packing work order to CLOSED.
Lastly, change the status of the merch order to SHIPPED.
After the process if finished, the HR department must update the user's coupon value to reflect the changes on order.
Demo order management
Example: DO-00027-2026

Summary
- Create fixed asset equipment product(s) for every product on Demo order (if they don't exist yet).
- Create a purchase order for the Demo order.
- Receive all products from Demo order to stock as the fixed asset equipment products, created earlier.
- Create a sale order of type Demo or Rental with all received products.
- Create a packing work order for your new sale order, and create a shipping list.
1. Add fixed asset equipment product(s)
If they don't exist already existing, create product(s) of type fixed asset equipment for the product(s) in the Demo order.
Product type should be "Fixed assets Equipment".

2. Create a purchase order for the Demo order
Once all fixed assets products are created, a purchase order must be created, in order to receive Demo products to stock.
Products can be "received to stock" with rebooking of existing products to fixed asset equipment products, but creating a purchase order and receiving products with goods receipts is a safer way, stock-wise.
Create a new purchase order, input Demo order's document number as purchase order reference number and add fixed asset equipment products as order items.

3. Receive Demo order products to stock as fixed asset equipment products
Create a goods receipt for all purchase order items (product from the Demo order).
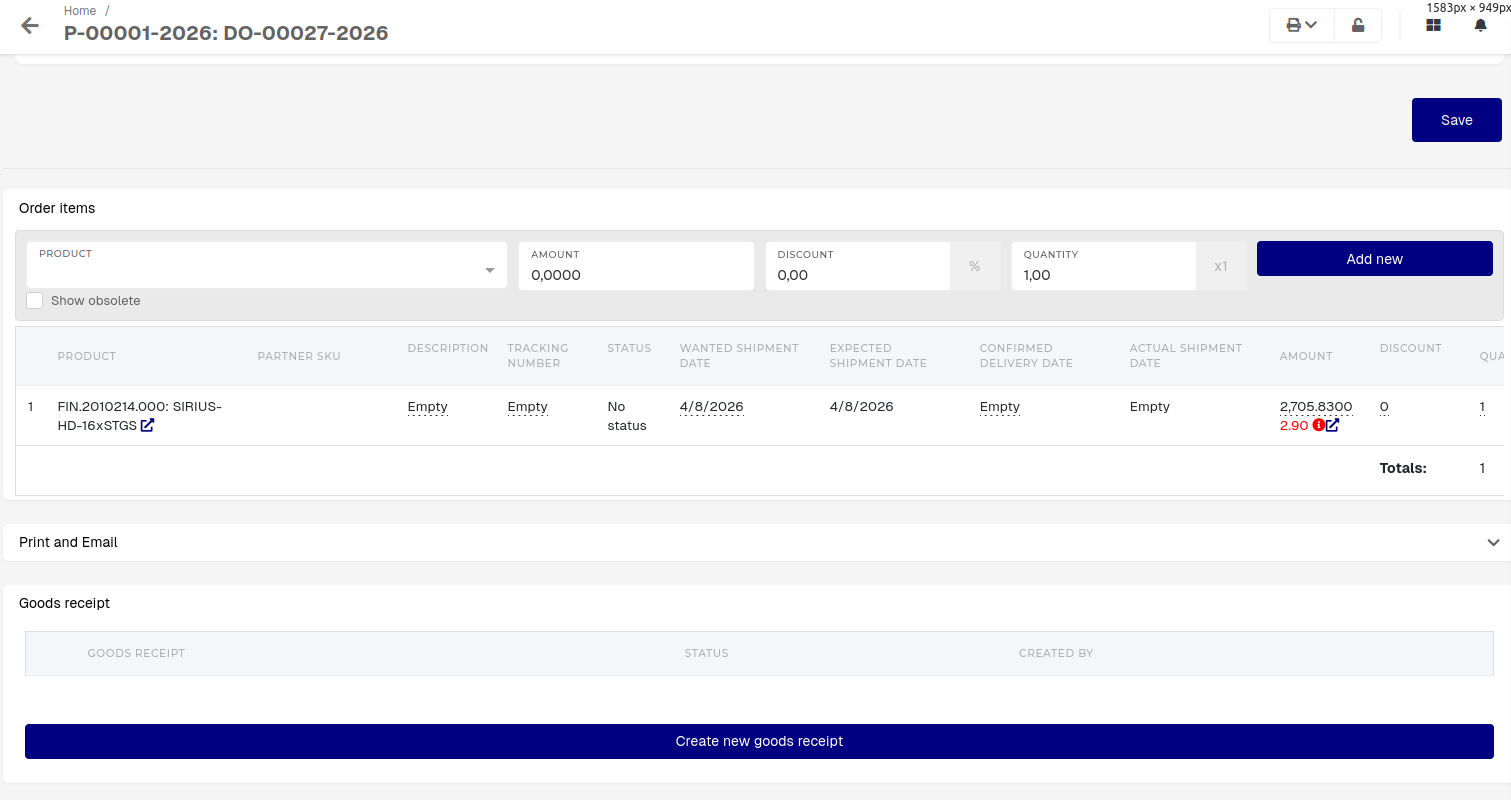
Click "Create new goods receipt", fill out the "New goods receipt for Order" form for all purchase order items and book the receipt to stock.

#Q What to do about counted quantity when product tracked by serials?
4. Create a demo/rental sale order
Create a new order with document type "Rental Order" or "Demo Order" and add the demo products as sale order items.

Demo and Rental orders require information in the "Rental and consignment information" section.

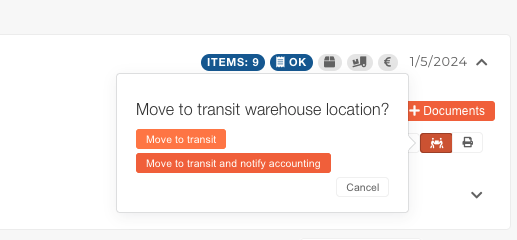
5. Create a packing order and shipping list for Demo sale order
To create a packing work order, click "Create packing for selected order items" in the "Documents" section.
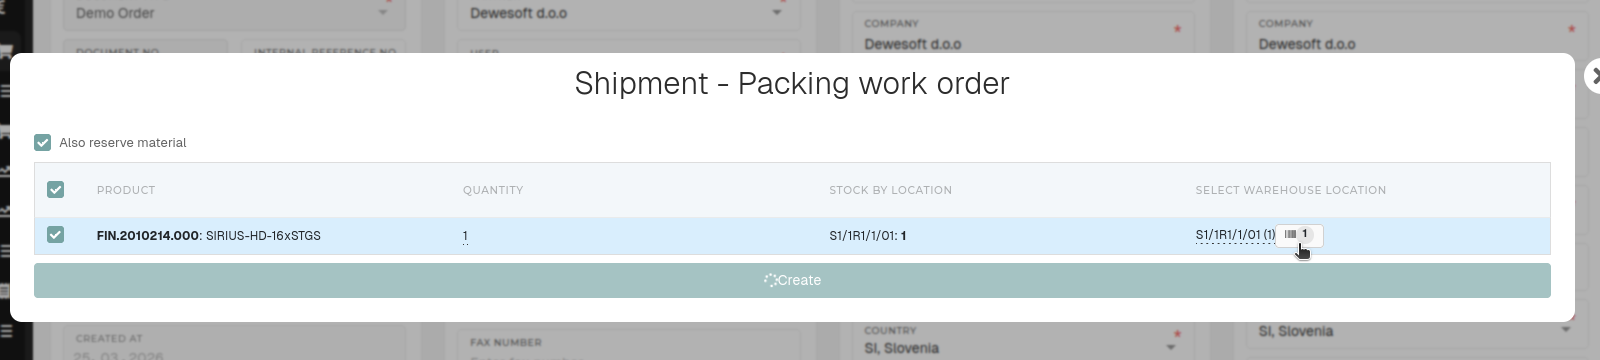
Make sure that products are "in stock" and click on the item to enter product serials and and then click "Create" to make a new packing work order.
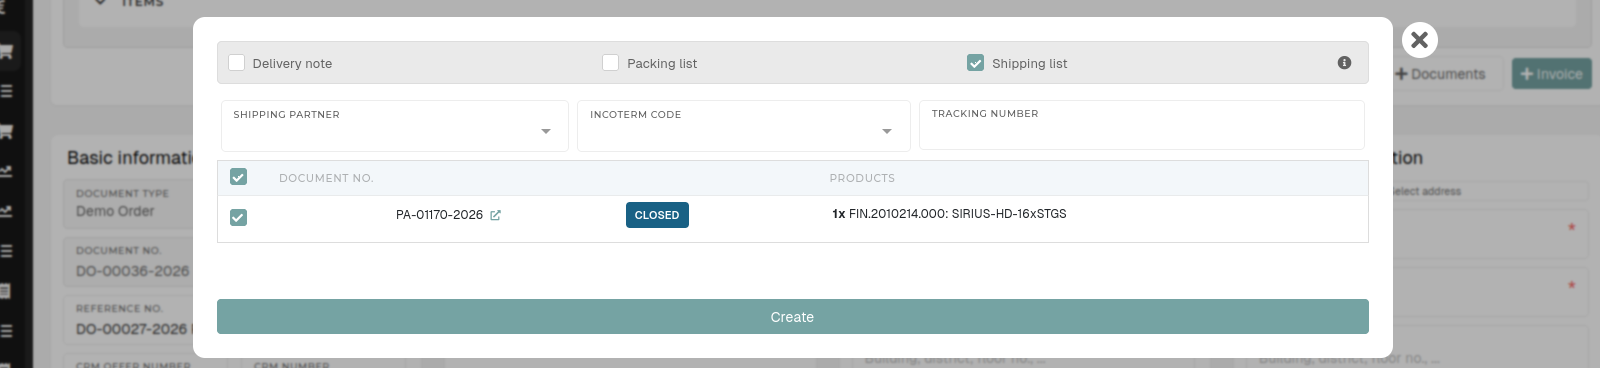
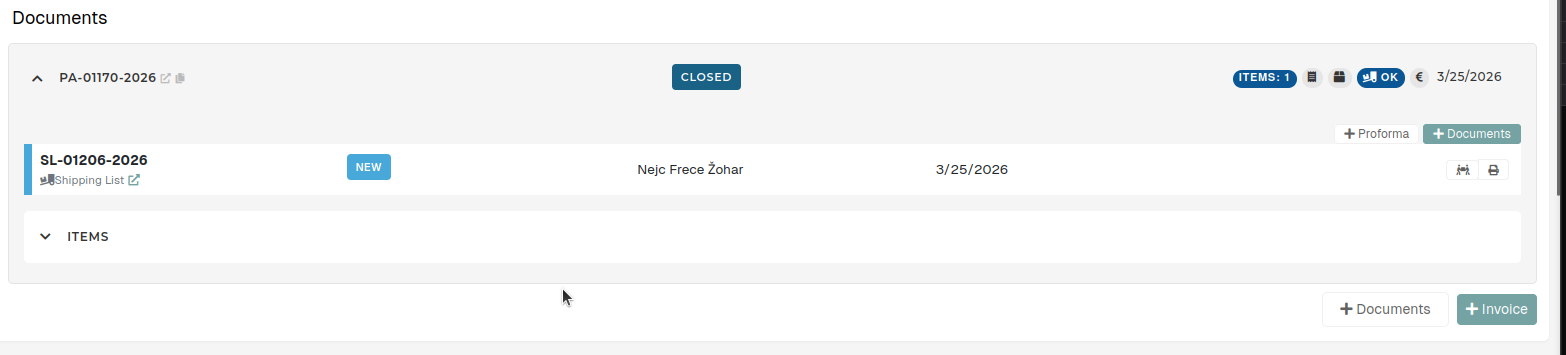
After the packing work order is completed, click the "+ Documents" button and add a shipping list for the packing work order.
Attach serial on sale order
This action requires the "view sales order" and "update sales order" permissions.
To attach a serial on order, find the serial's number and check its product and warehouse location.

Open the order, where the serials should be attached and navigate to the "order items" section.

Serial should have the same product as the product of the order item. Exception to this rule are items with product type Service (e.g. SCL.0000004.000), where the serial should be any product on list of eligible products for that service.

The serial must also be on your warehouse location to appear in the dropdown.
Click the "Link existing instrument serial number" button to open a dropdown, where the serial can be selected. Once the serial is attached, click the "Close" button to hide the dropdown.

Sales order items
Sales forecasts
Overview
Sales forecasts are used in Sales to forecast a company profitability..
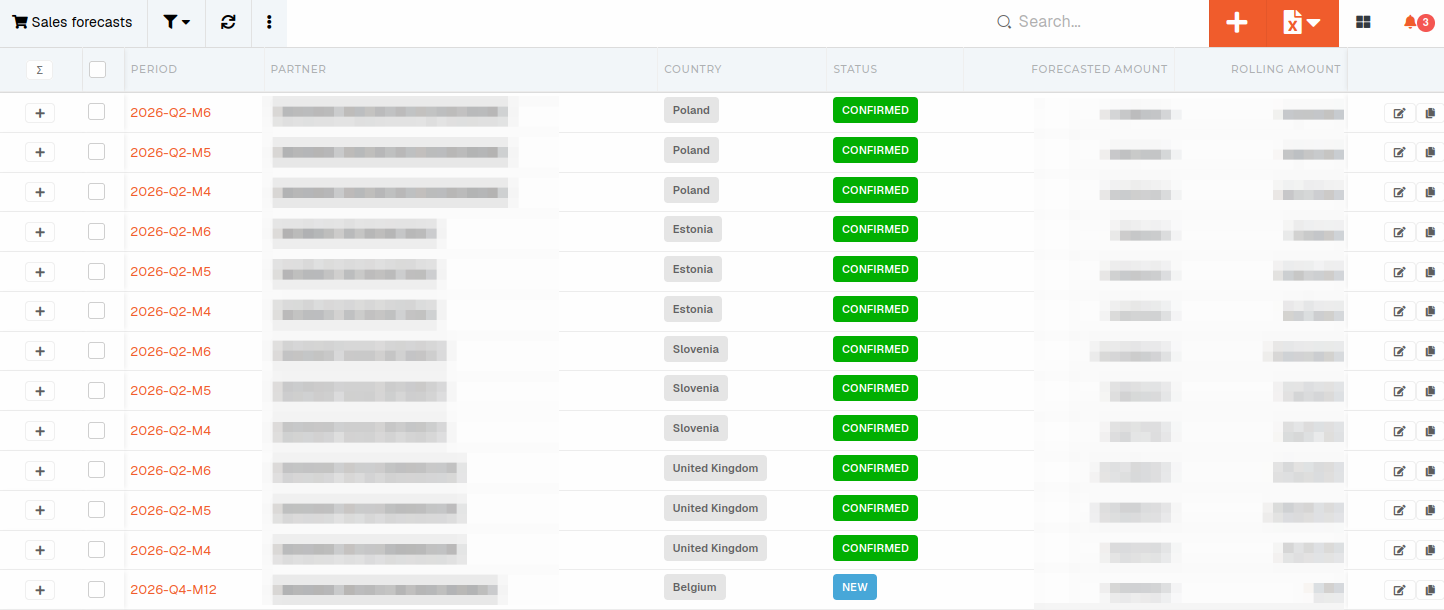
Create new sales forecast
This action requires the "Create sales forecast" permission.
To create a new sales forecast, click the "+" button above the table. This will open a modal window, where the sales forecast timespan can be set.
Forecasts are automatically created for the ERP's root partner.