| **Green** | Amount of your leave days in the current year. |
| **Yellow** | Your leave days, transferred from previous year. |
| **Red** | Your already used leave days. |
When you plan your leave of absence, the date you select is taken into account. If your planned leave is set before July 30, your leave days, transferred from the previous year will be used first.
On clicking **Show details,** a list with all the dates on which you had a vacation in the current year, is displayed.**IMPORTANT:** The graph shows the amount of **still available vacation days as green/yellow** and amount of **already used days as red.** When your vacation workflow requests are approved, the amount of your vacation days is automatically updated to reflect that.
**Example:** *A user has 18 vacation days available and creates a workflow request for a 5-day vacation next month. **Once that request gets approved** by the user's lead, **those 5 days will count as already used** **and will be shown as such on the graph**. However, should the user decide that they don't want the vacation anymore, they can talk to their lead or contact HR department to cancel the workflow request, which returns those 5 vacation days from used (red) back to available (green/yellow).*
#### **Workflow calendar** The calendar on this page visually shows the data for the given month. Clicking on the yellow exclamation mark by the bottom right corner of the calendar displays a legend that explains every symbol's meaning and day coloration meaning.| 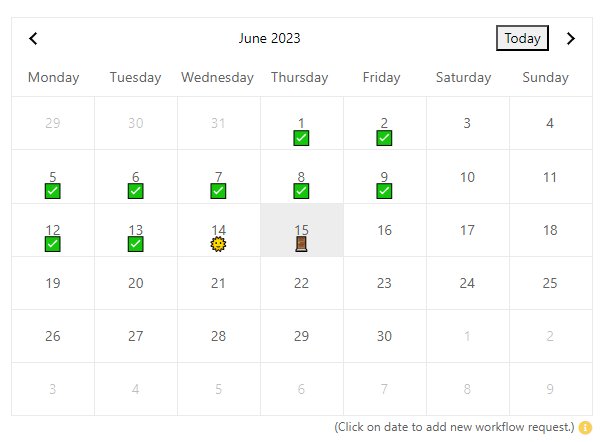 | 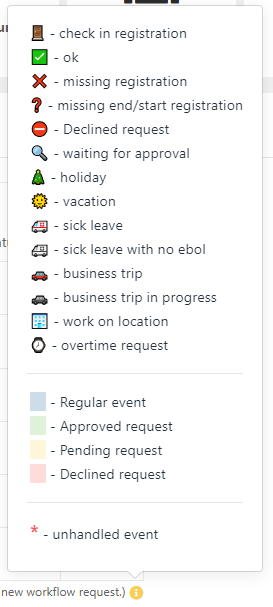 |
Workflow requests of different types have different forms, so make sure to look over your filled out form before submitting.
After submitting a request, the date you selected in your request will be shown with a magnifying glass icon while in review. # ERP Profile settings Next to your profile photo, you can find some settings, that alter aspects of the ERP.  #### Set password This settings allows you to setup a update your password, or use "Login with Google only", which will allow you only login with google, "disabling" normal email & password authentication.This form allows you to update your password or change to google-only login. It can be altered at any time.
[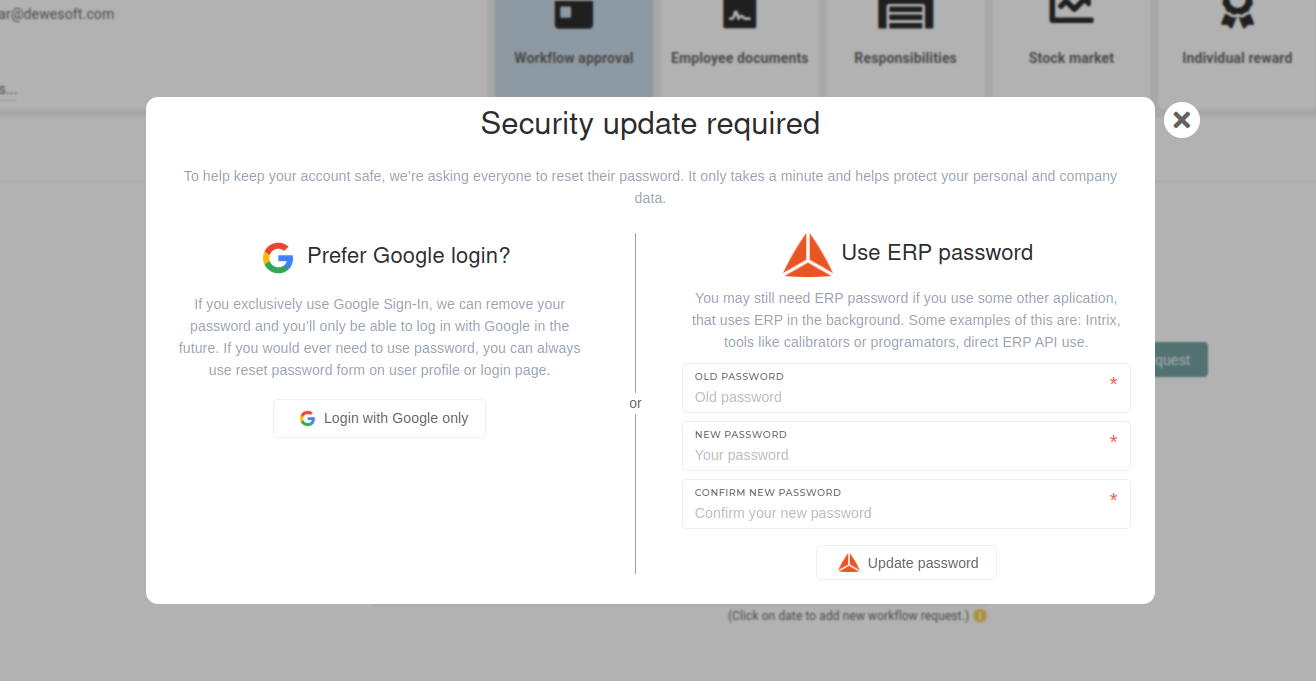](https://how-to-erp.dewesoft.com/uploads/images/gallery/2025-04/7GOimage.png)Keep in mind that while google login is simpler, email & password authentication is required for external applications, connected to the ERP.
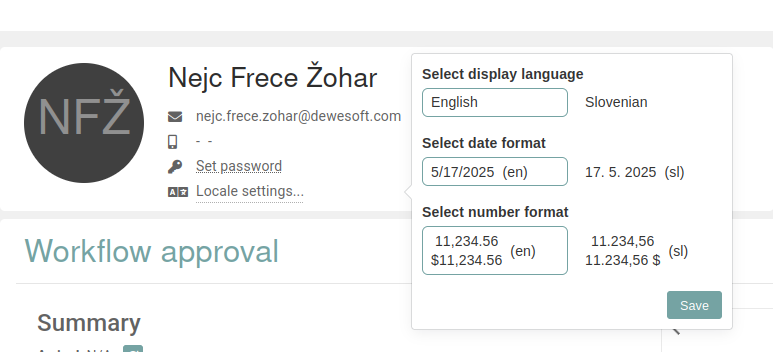
#### Locale settings In these settings, you can change the language of the ERP. You can also select different date and number formats, depending on which you prefer.The **settings** are **saved on your computer only**. If you log in on a different computer, the settings will need to be set again.
 # Employee documents This section contains a file manager view, that contains documents, that pertaining, the logged-in user, that you may see. Here you can manage (move, upload, download and delete) all of these documents. 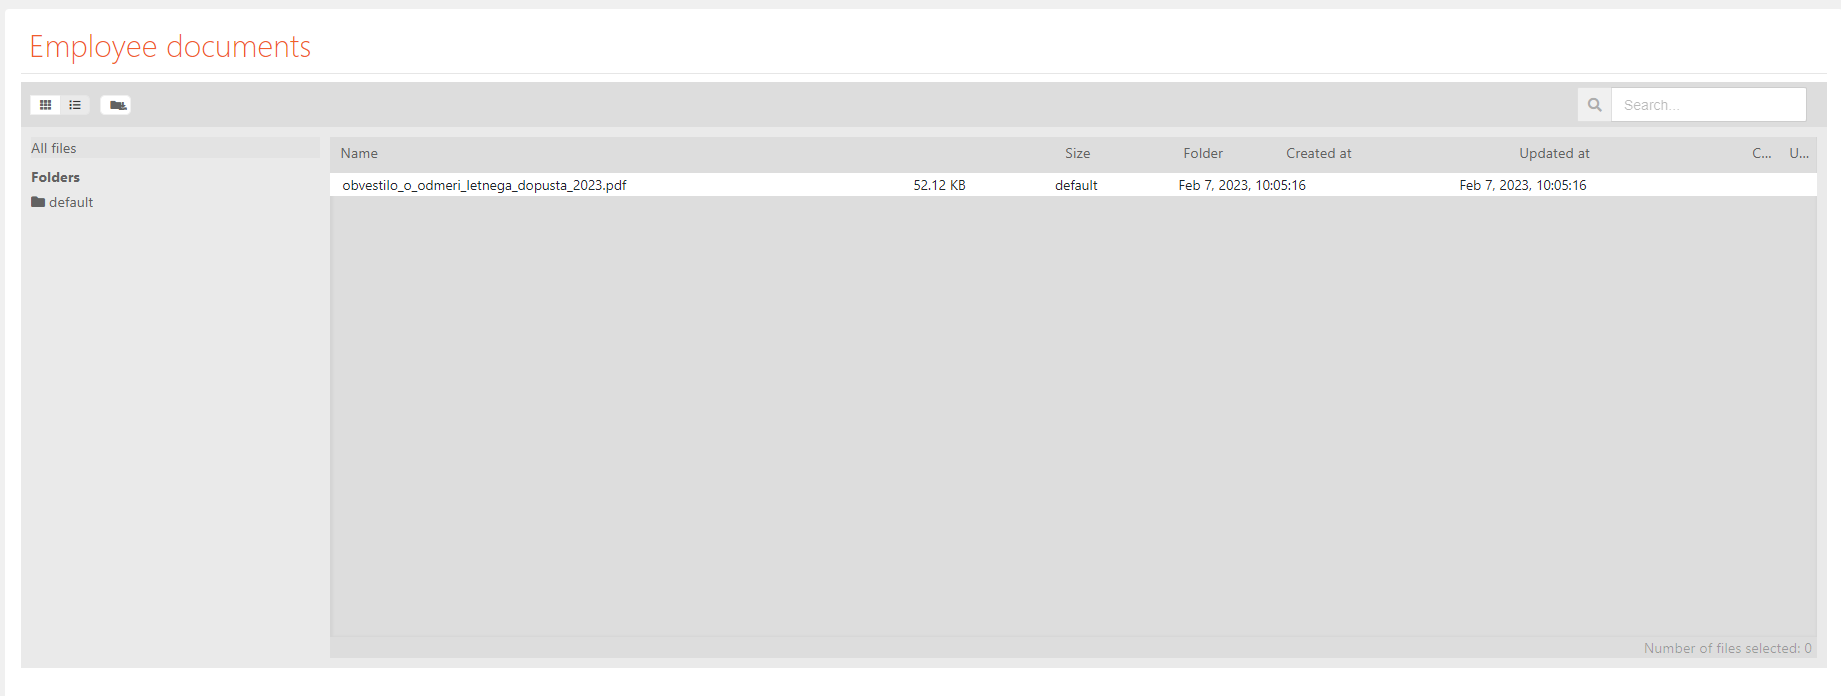 The file manager shows, on the left, a tree of your directory, where you can also create new folders, while the right side shows a table view of all files (documents) in a selected folder. The table shows the following file properties: name, size, folder (location), when it was created and when it was updated. # Stock The stock section is a informational page that displays a dropdown, named **Fixed assets equipment** that also shows **Quantity** (count of all your assets) and **Amount** (monetary value of all your assets) on its right side. On clicking the dropdown, a table of all fixed assets equipment, that is assigned to you, the logged-in user, is shown.  The table has 6 columns, shown in the given order: - **SKU:** The system id of the asset. - **SHORT NAME:** A shortened name of the asset. - **NAME:** The full name of the asset. - **QUANTITY:** The quantity of the asset, that's assigned to you. - **SERIAL NUMBER:** A button that lists all serial numbers (with their item names), that are assigned to an asset. - **AMOUNT:** A monetary value of an asset. # Stock market The first thing, visible on this page is a grid of basic information, pertaining to stocks. 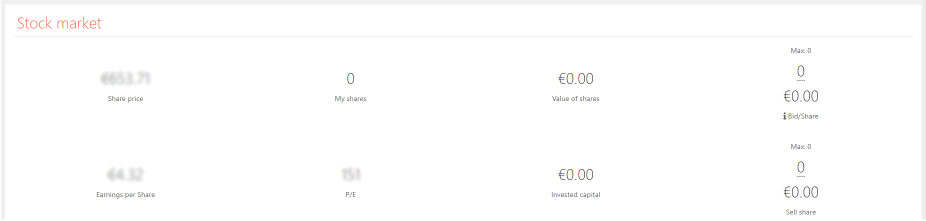| **Share price** | The current price of the company's share. |
| **My shares** | Amount of how many shares you own. |
| **Value of shares** | A monetary amount of all your shares. |
| **Bid/Share** | A form for buying new shares during the open trade window. |
| **Earnings per Share** | How much do you earn per single share. |
| **P/E** | Value of the current **price-to-earnings** ratio. |
| **Invested capital** | How much money you invested in shares. |
| **Sell share** | A form for sellign your shares during the open trade window. |
The third method works if employees have "**Entry** **registration**" enabled and the system has **Virtual registrations** enabled.