Filters
The filters section, above a table, allows user's to apply custom filtering to the table.

Filters for every field can be accessed by pressing the ![]() icon next to the field's name.
icon next to the field's name.
Fields without the filter icon cannot be filtered by.
Types of available filters
There are several types of filters available in the filter section.
Most common among these are:
| Yes/No filter | Filter's value is either true or false. |
| Date filter | Field's value is a date range between date 1 and date 2. |
| Text filter | Field value is equal to given value. |
| Select filter | Select a value from a provided list. |
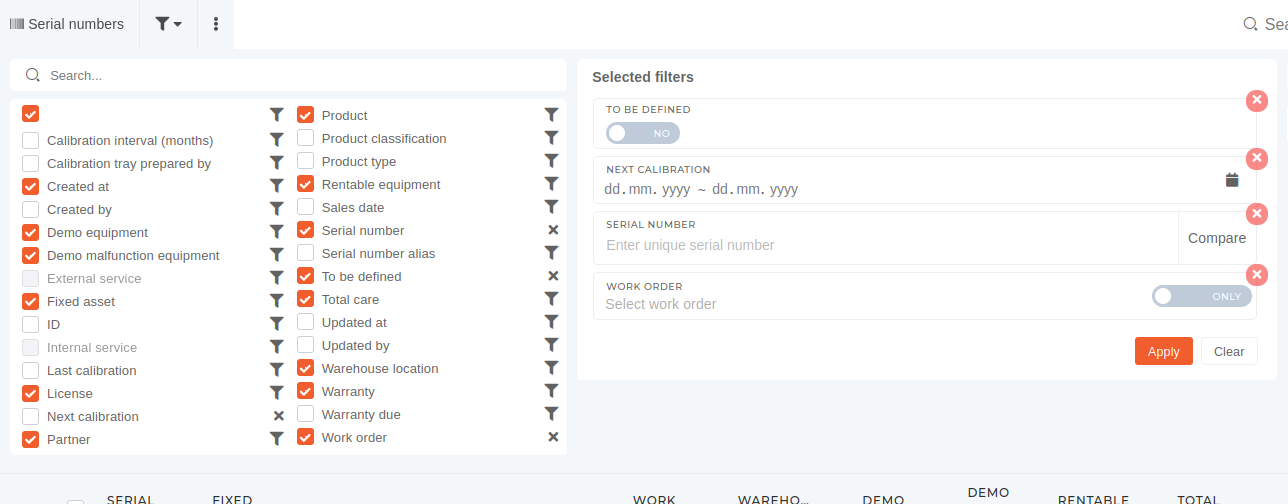
To apply the filters, press the "Apply" button, which reloads your page and filters table rows. You can remove all applied filters at once by pressing the "Clear" button, or one at a time by pressing the "x" in the top right corner of the filter fields.
NOTE: The table filters, that you set for yourself, will only be set on the computer you set them on, if you don't save it.
Saving set filters
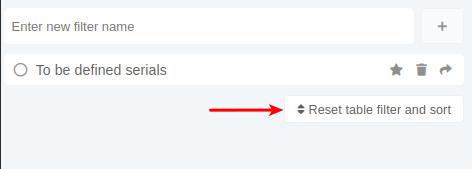
When you create a customized table view, you can choose to save your current configuration (the filters you have set and the columns you have set as visible).
To save an existing configuration, just give it a name and press the "+" button, and the configuration will be saved, available for use anywhere you log in. To apply an existing saved filter, just click on it's name.
You can edit a saved filter's name by clicking the "pen" icon that appears next to saved filter's name.
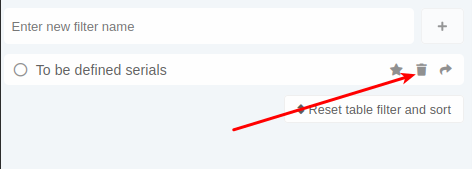
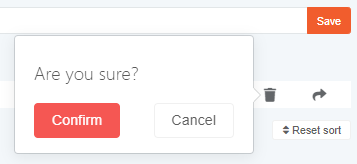
If you want to delete a previously saved filter, you can do that by clicking the trash bin icon on the right side, at which point you will be prompted to confirm its deletion.
There is a "Reset table filters and sort" button under the list of saved filter sets. By pressing this button, you remove all filters and any column sorting, done by clicking column headers in the tables.
