Tables
Table pages consist of the filters, table actions, table headers, table rows and pagination.
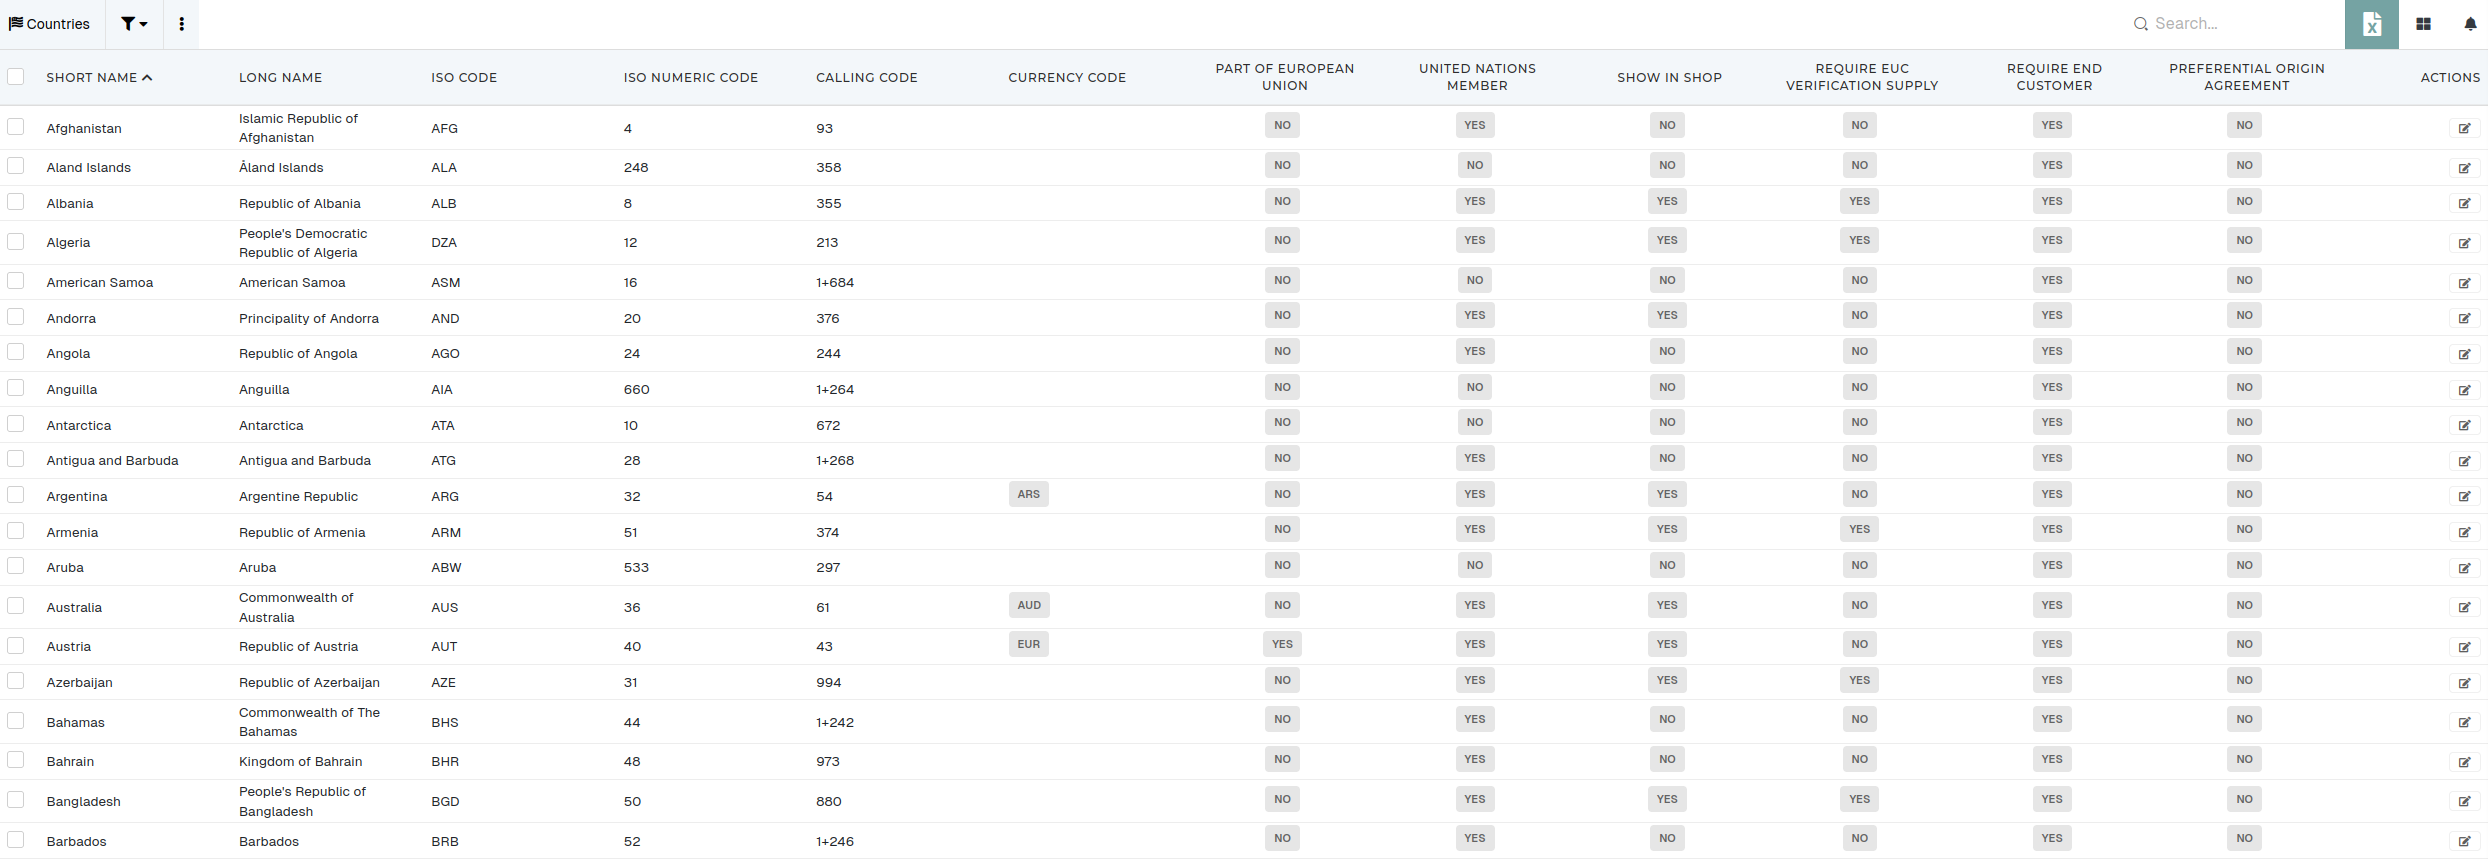
Table columns
You can customize the way you see a table, by opening the "visible columns" section and selecting or deselecting, which columns should be visible.
After changing the visible columns selection, the table needs to be refreshed.
You can also search the
Table filters
Most table columns can be used in filters. When you click the "funnel" icon next to the column name, a filtering form is added to the filters section.
Filters include text filters, dropdowns, Yes/No filters, date filters,...
After every change in the filters section, the filters need to be re-applied.

When you have applied filters, their count will appear next to the "gear" icon.
Table search
Table search allows for quick and simple searching by word through the entire table.
If you have applied table filters and you use table search, the search will only find records that match both filters and search.
If a record is not shown in table during search, it has to be saved through the update form again.
Table actions
Table actions
Next to the search, a set of orange action buttons is displayed. For some of this buttons users will need special permisisions.
|
|
One such is the create button, which redirects you to the creation form, where you can create new entries for the table, where you pressed the plus button. |
|
|
The import button allows importing of data from external sources into the EPR. |
|
|
The Export button can be used to export the data (as per your configuration) to an excel file, saved to your computer. |
|
|
The print button appears when you have selected one or more rows in the table. It allows you to bulk print all of the selected entries at once. |
|
|
The delete button appears when you have selected one or more rows in the table. It allows you to bulk delete all of the selected entries at once. However, entries cannot be deleted if the have existing connections to other items in the ERP, as those could depend on this one to properly function. |


Available fields
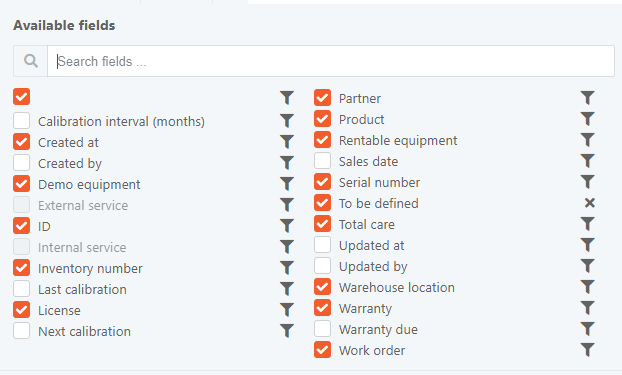
This section's primary function is the customization of the actual table.
The checked fields are displayed as table columns, while the unchecked fields are hidden. Users can personalise the way they see the table by checking and unchecking fields and refreshing the page afterwards.
The available fields can also be searched through, as there are quite many of them on some tables.
Table of entries
Table of entries (rows) is the main part of this view, it's where all the data, filtered or not, is displayed.
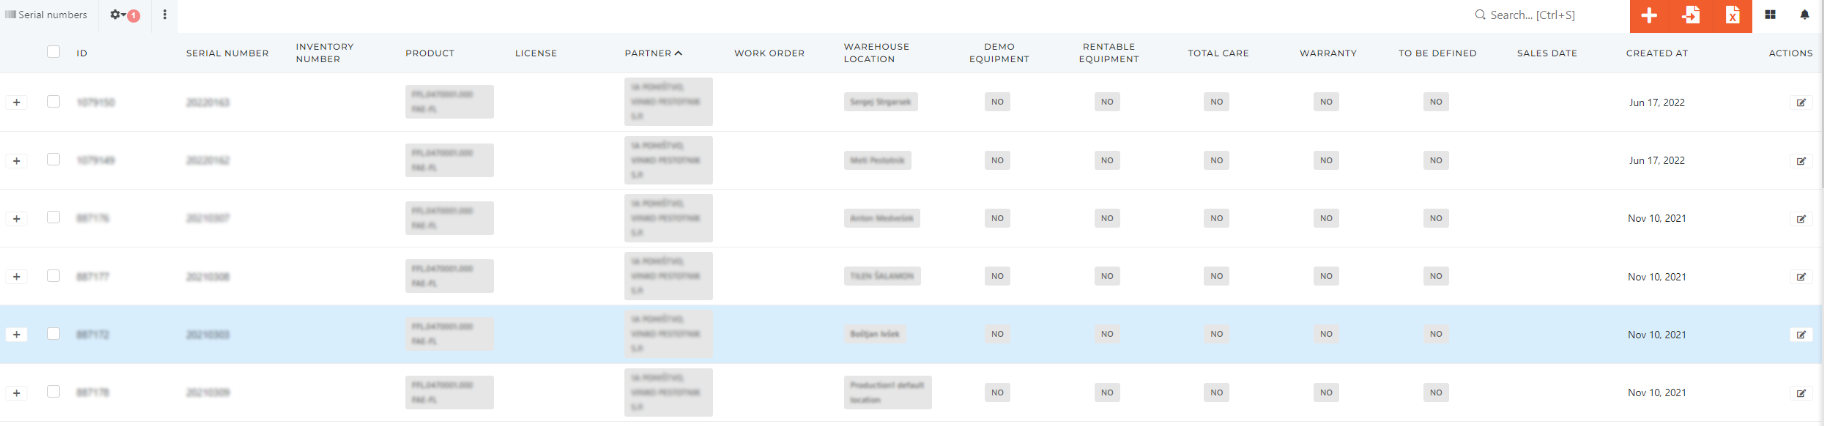
The table consists of columns that you have selected in the top toolbar, along with permanent additional columns '+' at the start and 'Actions' at the end.
The '+' column has a plus button, that can be clicked to expand a details section for their row, which can contain a quick overview of an entry's information.
The actions column can contain several button with varying functions, depending on the button, but most commonly at least the edit button ( ![]() ) is present.
) is present.
Most columns are filled with plain text information, but some contain buttons, text fields or other widgets, used for quickly editing a row. Most tables in the ERP differ in this regard.
By checking a row, you are selecting it. You can bulk edit all selected rows at once (by clicking the icon next to the column name), but most of the time, this is not advisable, since sometimes information is written in a certain way for a reason and changing it can cause errors.
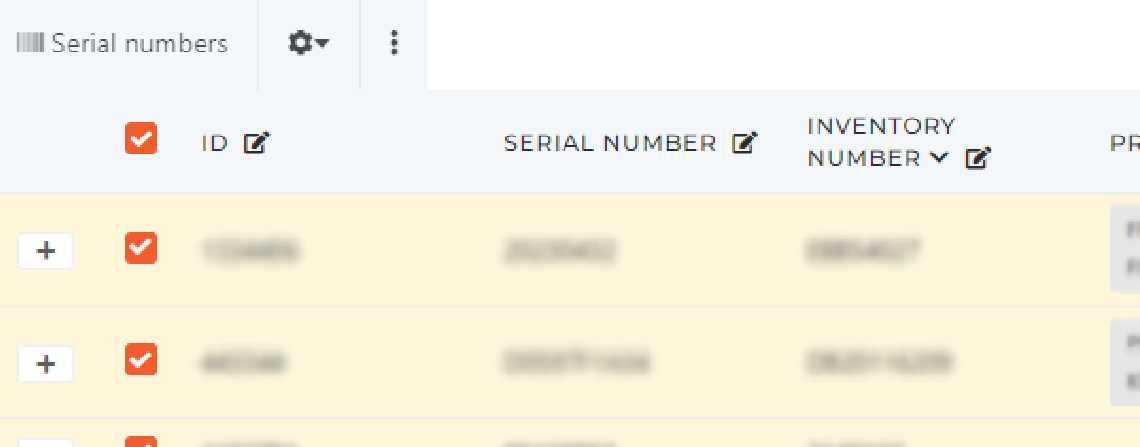
You can sort a table by most fields, but only by a single field at a time. To apply sorting, simply click on the column name and the arrow that appears next to or underneath it will indicate if you are sorting in an ascending or a descending order. To switch between these two, just click on the column name again.
To reset any sorting, open the top toolbar and press the 'Reset sort' button on the right side of the screen.
The bottom toolbar
The bottom toolbar is used to control how many items to show and to control pagination. It spans accross the bottom of the screen.

- On the left side of the the toolbar lies an informational textbox, that tells you, which entries you are viewing on the current page and how many there are of all entries.
![]()
- Next to the textbox is a select, that lets you choose, how many items per page you are viewing.
![]()
- And on the right side of the screen lies the pagination widget for switching backwards or forwards through pages.
![]()