Tables
Table pages consist of the filters, table actions, table headers, table rows and pagination.
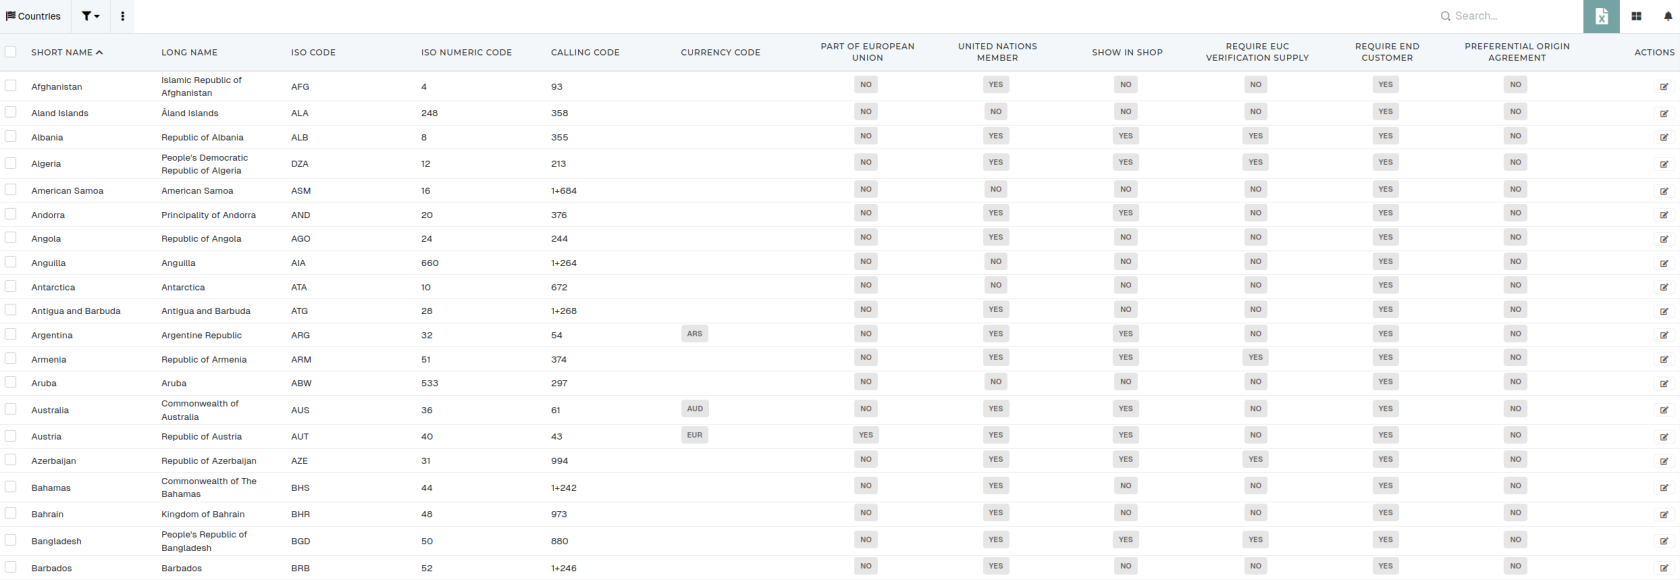
Table columns
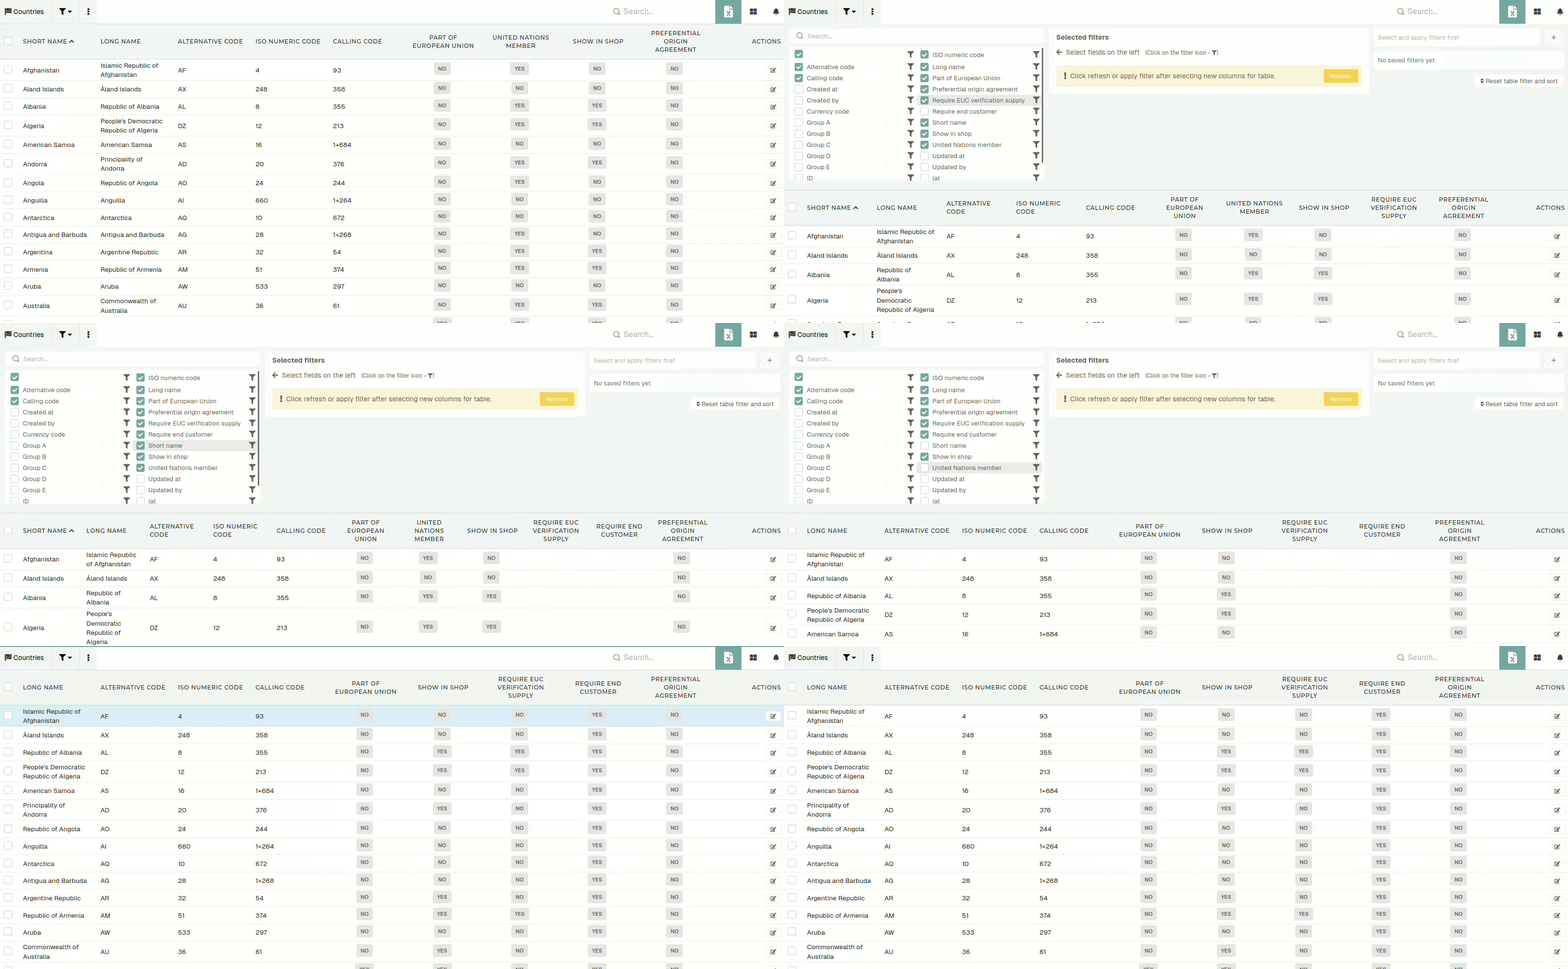
You can customize the way you see a table, by opening the "visible columns" section and selecting or deselecting, which columns should be visible.
After changing the visible columns selection, the table needs to be refreshed.
Some tables have a lot of columns, so searching was added to allow you to quickly find the column you need.
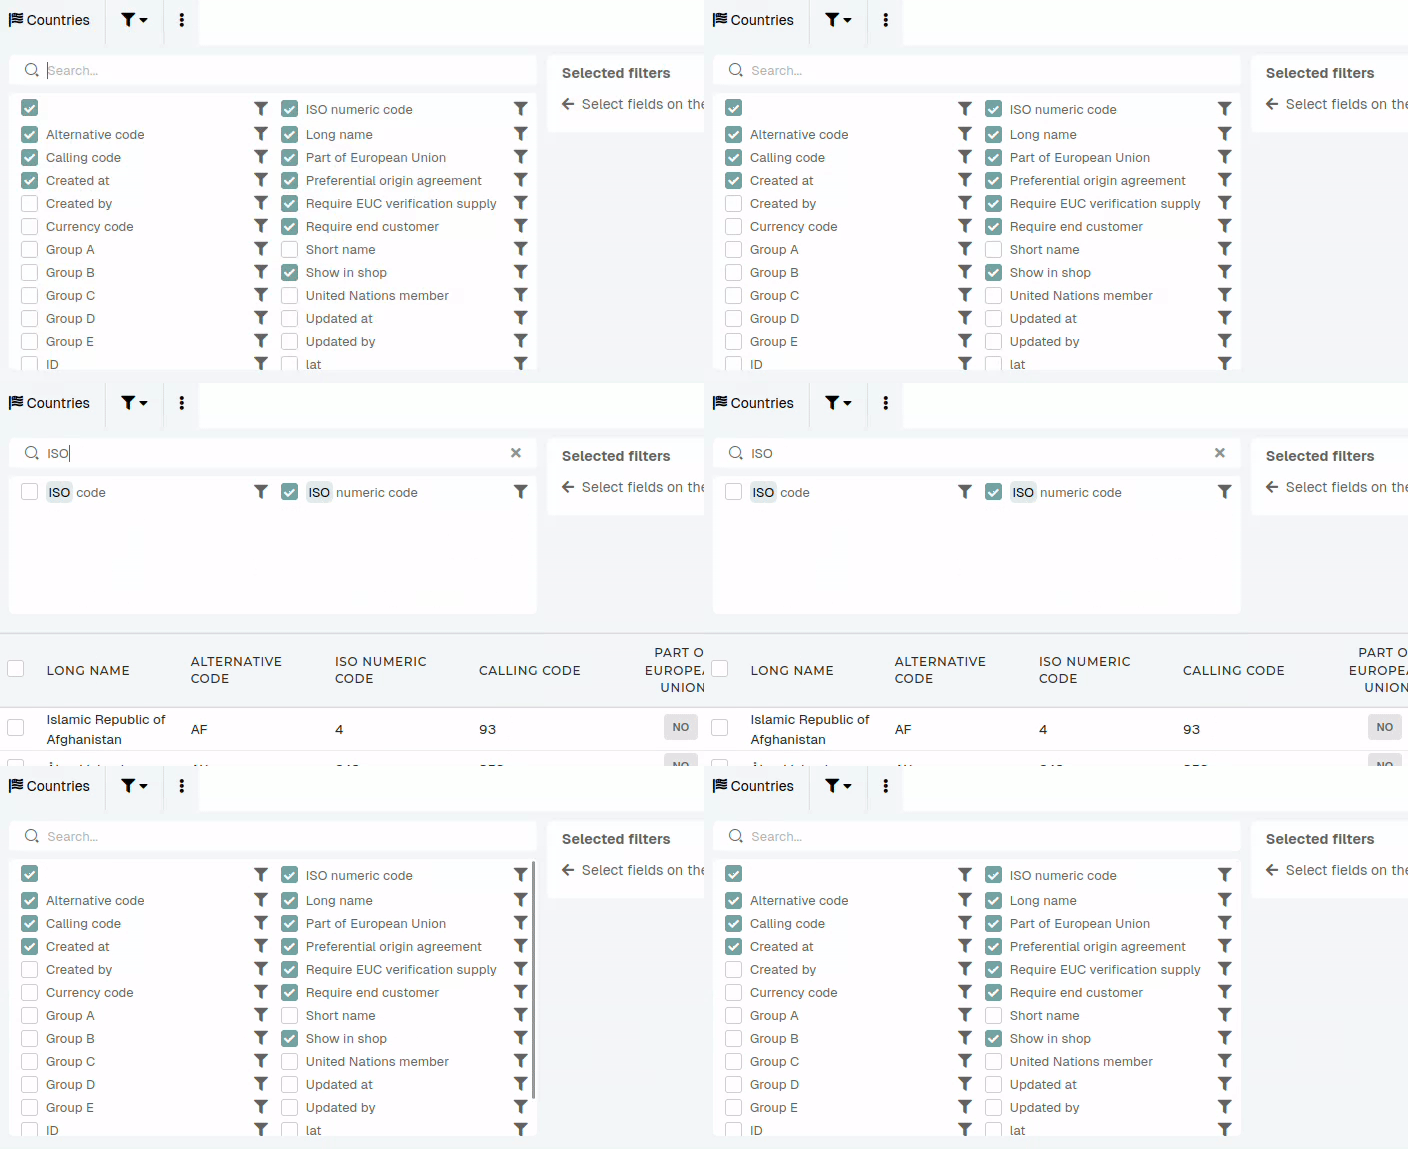
Table filters
Most table columns can be used in filters. When you click the "funnel" icon next to the column name, a filtering form is added to the filters section.
Filters include text filters, dropdowns, Yes/No filters, date filters,...
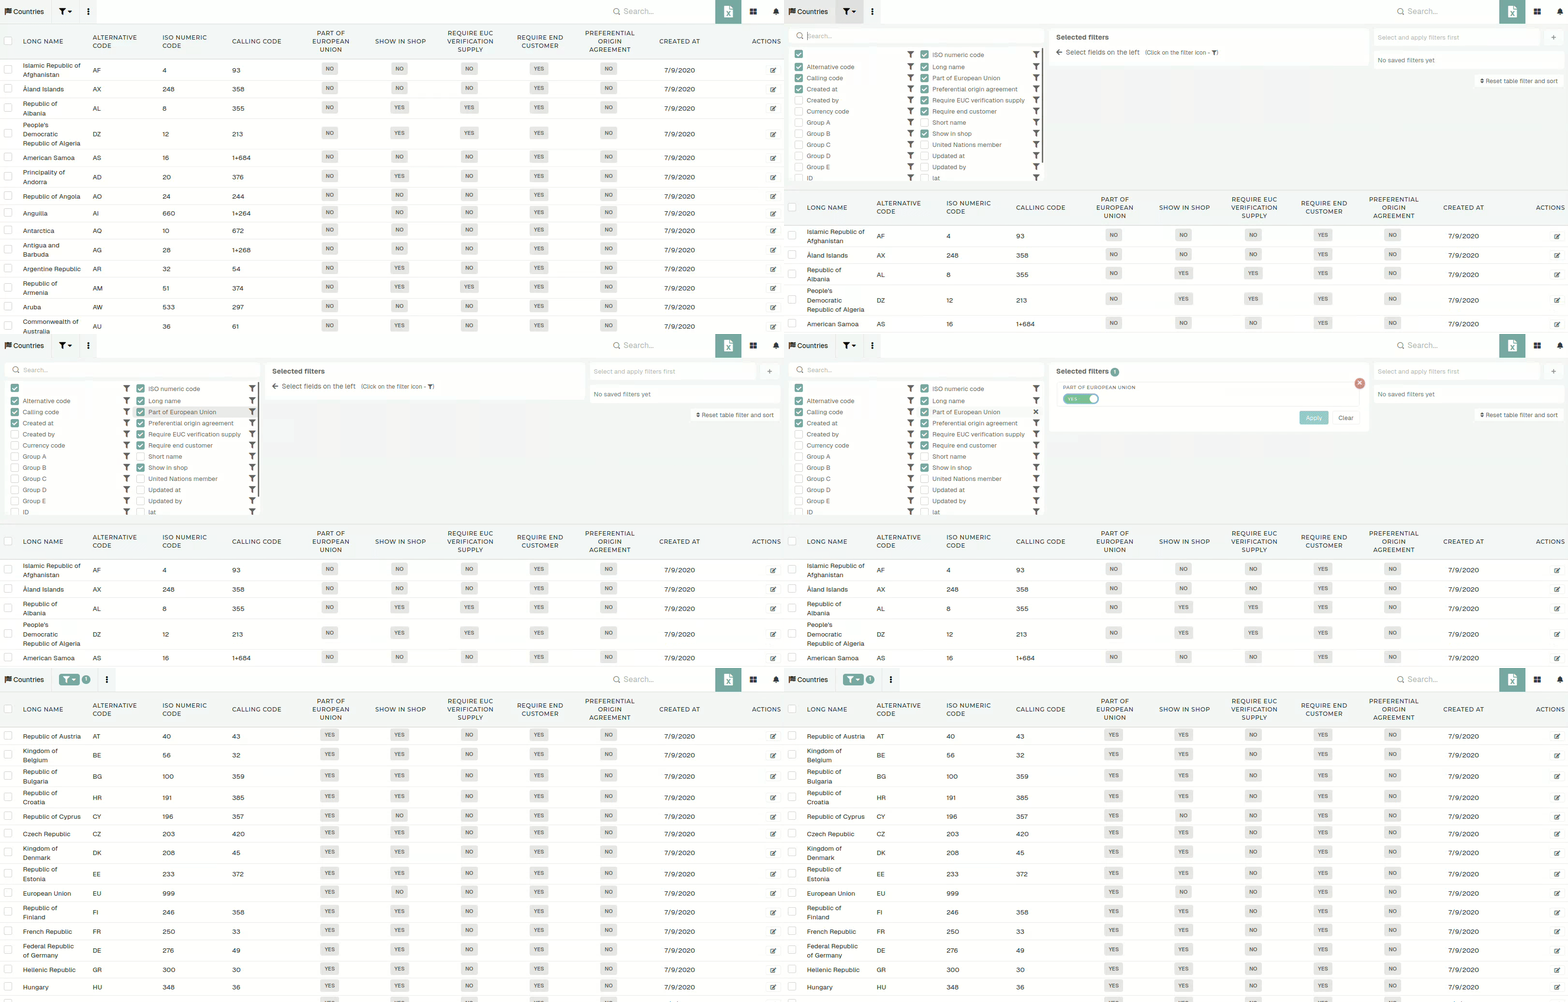
After every change in the filters section, the filters need to be re-applied.

When you have applied filters, their count will appear next to the "gear" icon.
Table search
Table search allows for quick and simple searching by word through the entire table.
If you have applied table filters and you use table search, the search will only find records that match both filters and search.
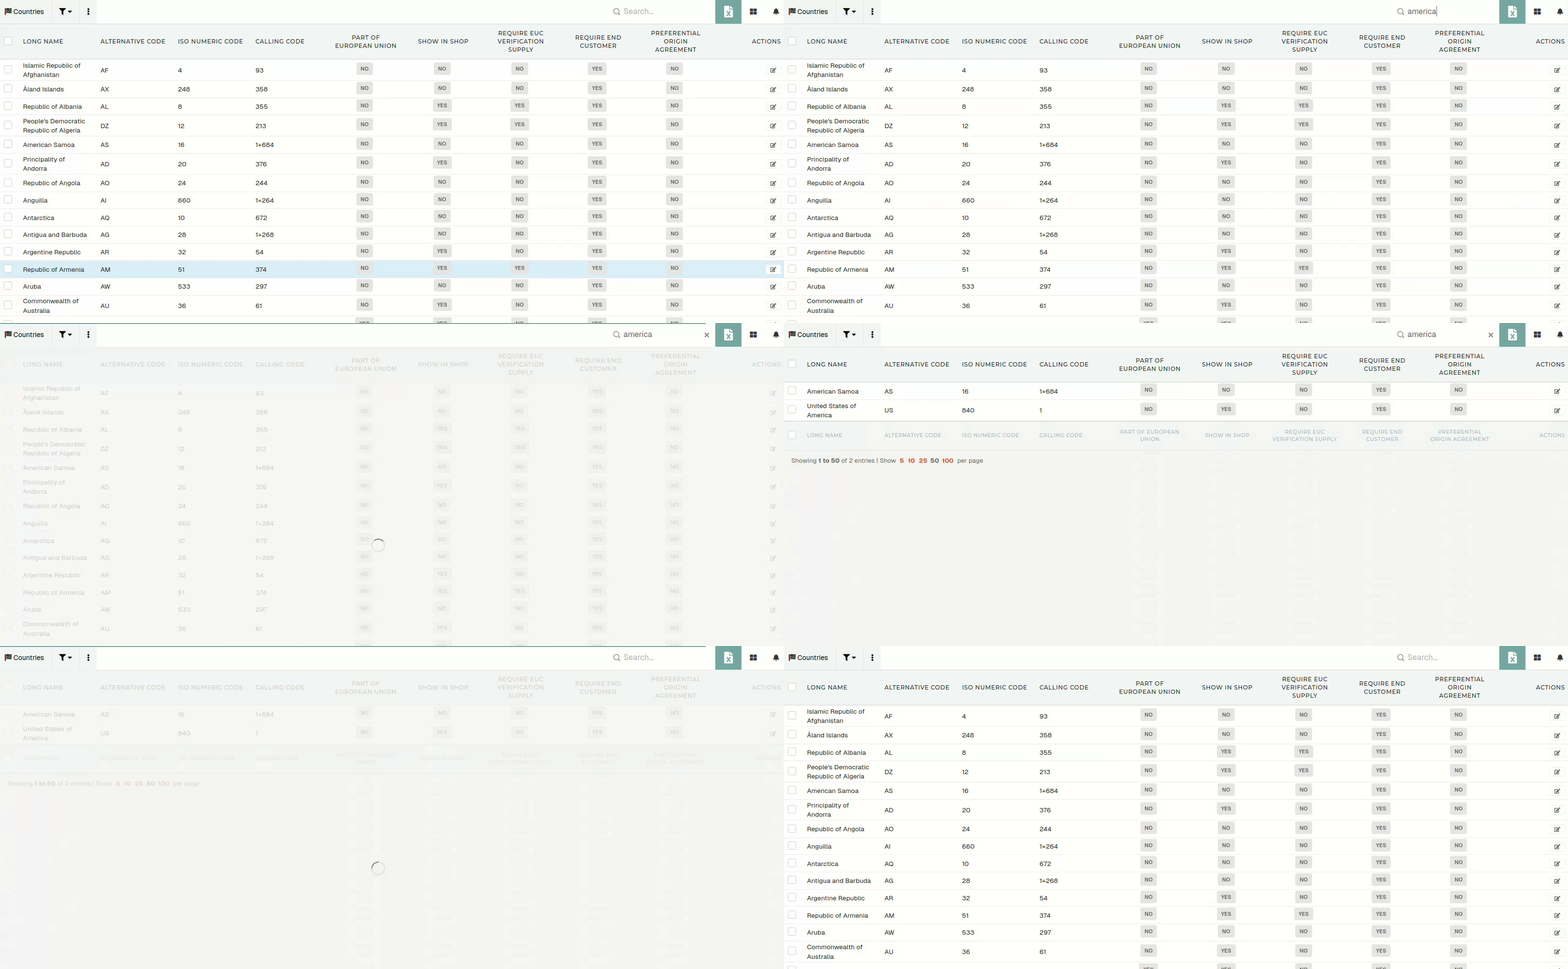
If a record is not shown in table during search, it has to be saved through the update form again.
Table actions
Every table has action buttons, that are used to add, delete, print, export or import records in table.

- Add new
- Link to the create form the a new record.
- Import from Excel/CSV file
- Upload a formatted excel or CSV file to import records.
- Export to Excel
- Export table to Excel. This action uses applied filters and search during export.
- If no filters are applied, this action will attempt to export the entire table.
- Export to ZIP
- Export selected records to ZIP. Used to bulk export PDFs.
- Print selected items
- Generate default PDF prints for selected records.
- Delete selected
- Delete selected records from the table.
Actions, such as "Add new" and "Delete selected" are locked with permissions.
Records
Table records are the main part of this view, it's where all the data is displayed.
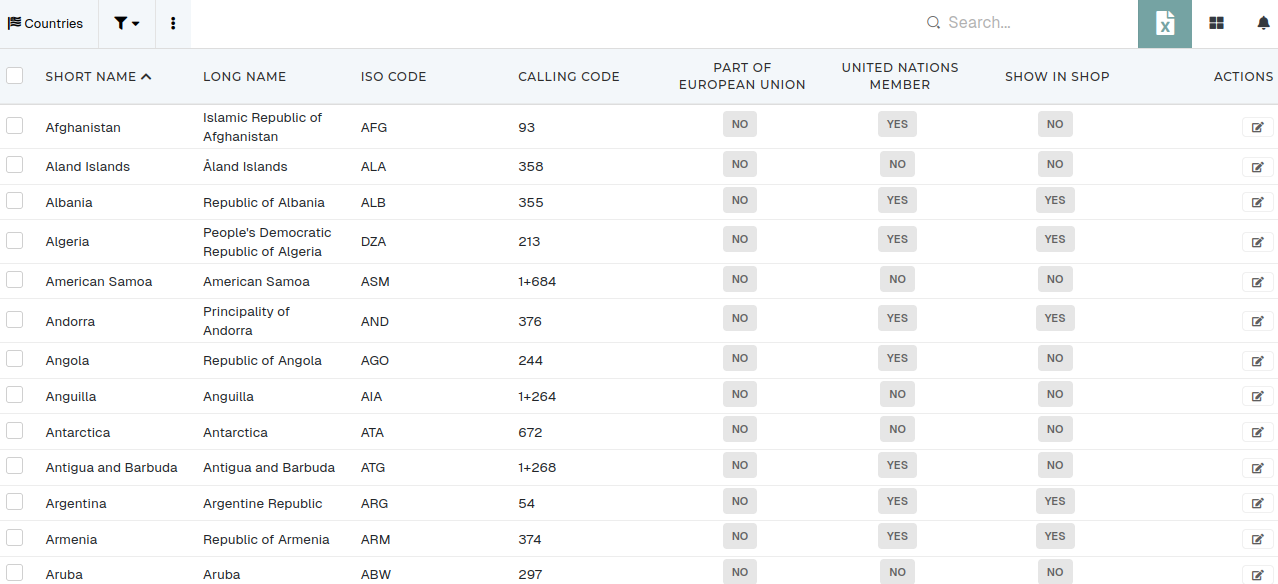
The table consists of selected visible table columns. Most tables have an 'Actions' columns, where users can open and/or delete records.
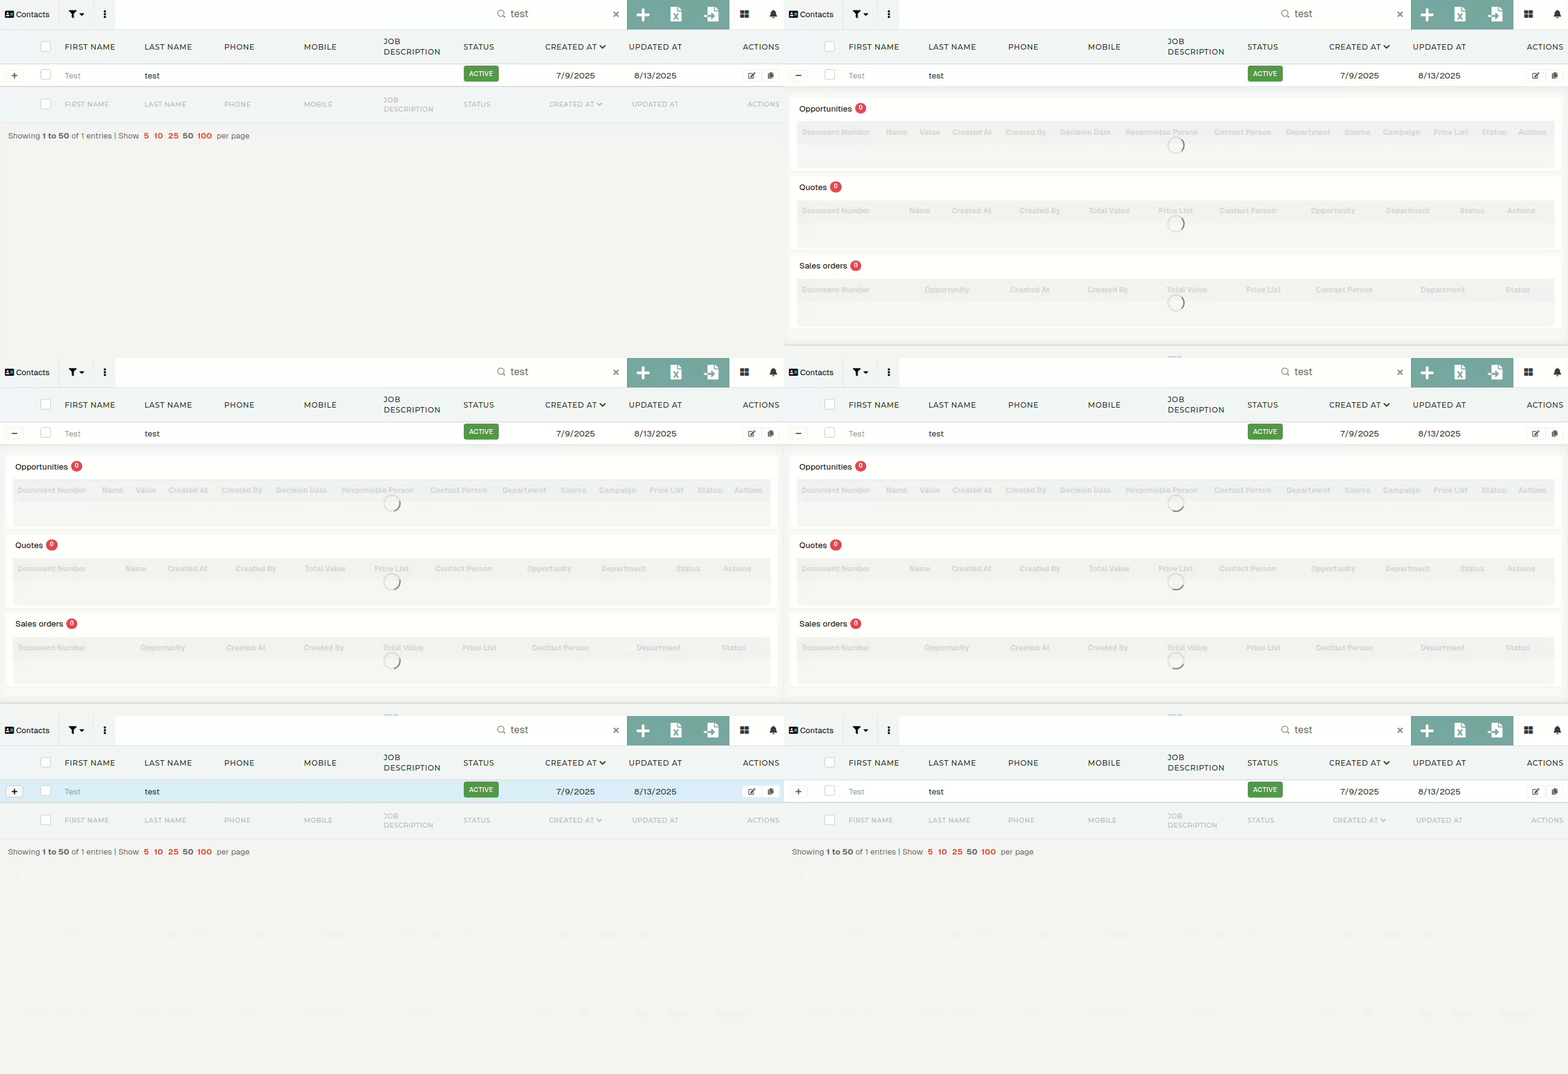
Some tables (eg. contacts) also have "details rows". These can be opened by clicking the "+" before the checkbox.
Batch editing
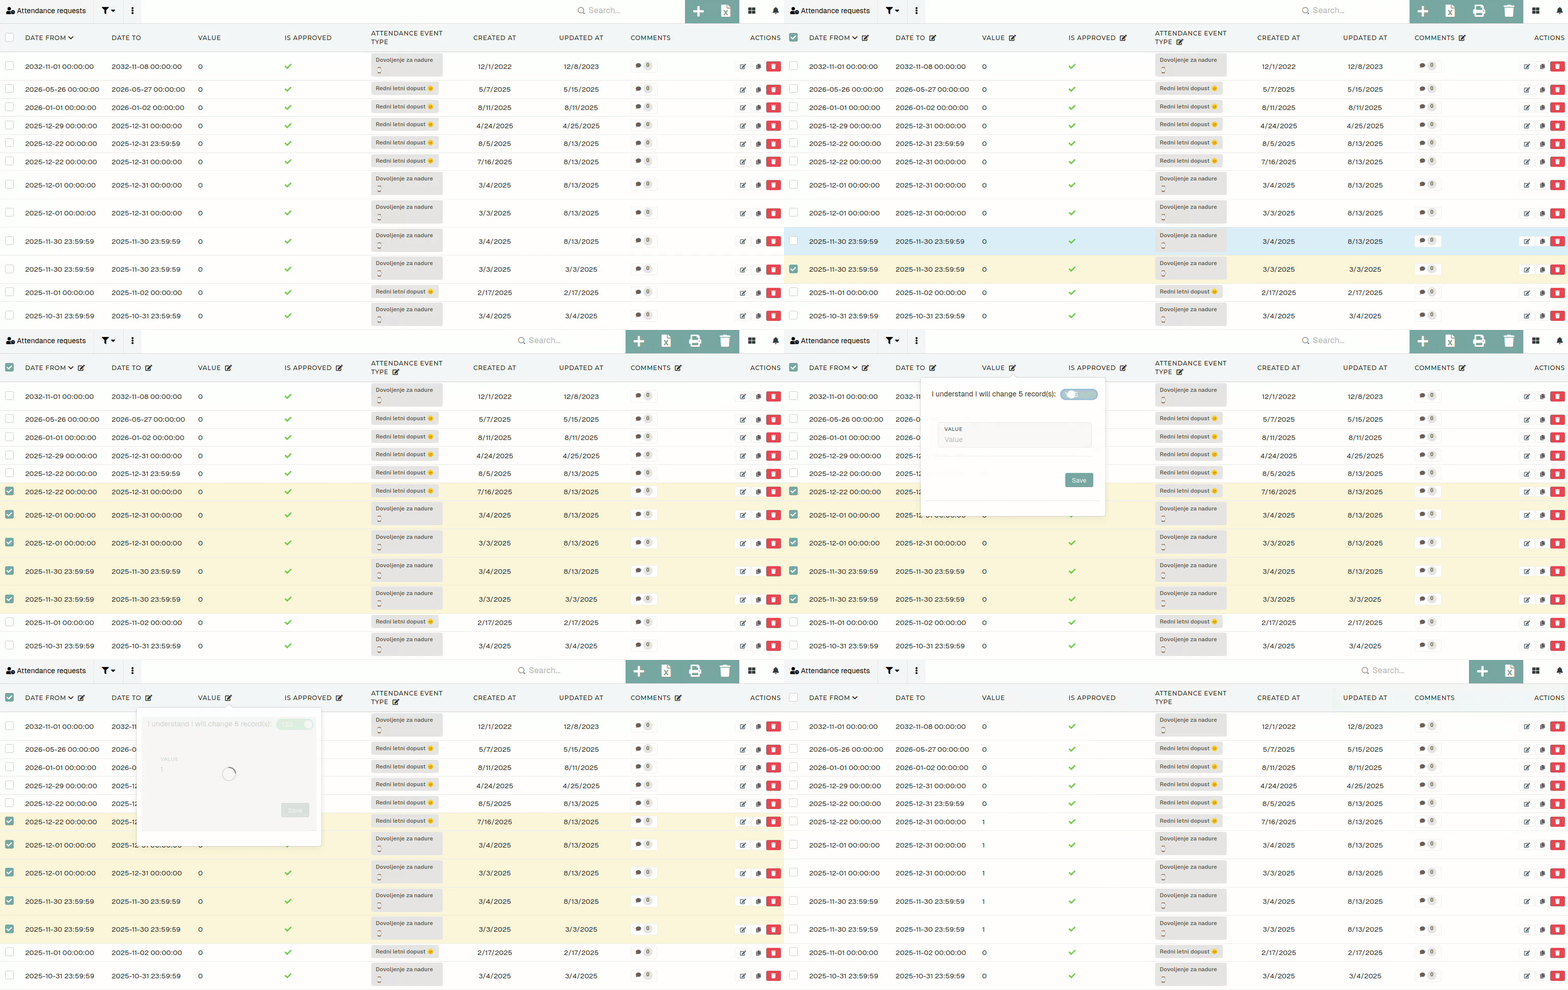
By checking a row, you can select one or more records. You can edit multiple selected rows at once by clicking the "edit" icon next to the column's name.
Batch editing is not advisable, as updating multiple records at once could lead to complications.
Each table can be sorted by any of its columns, but only by a one at a time.
To apply sorting, simply click on the column name and the arrow that appears next to it will indicate, if you are sorting in an ascending or a descending order. To switch between these two, just click on the column name again.
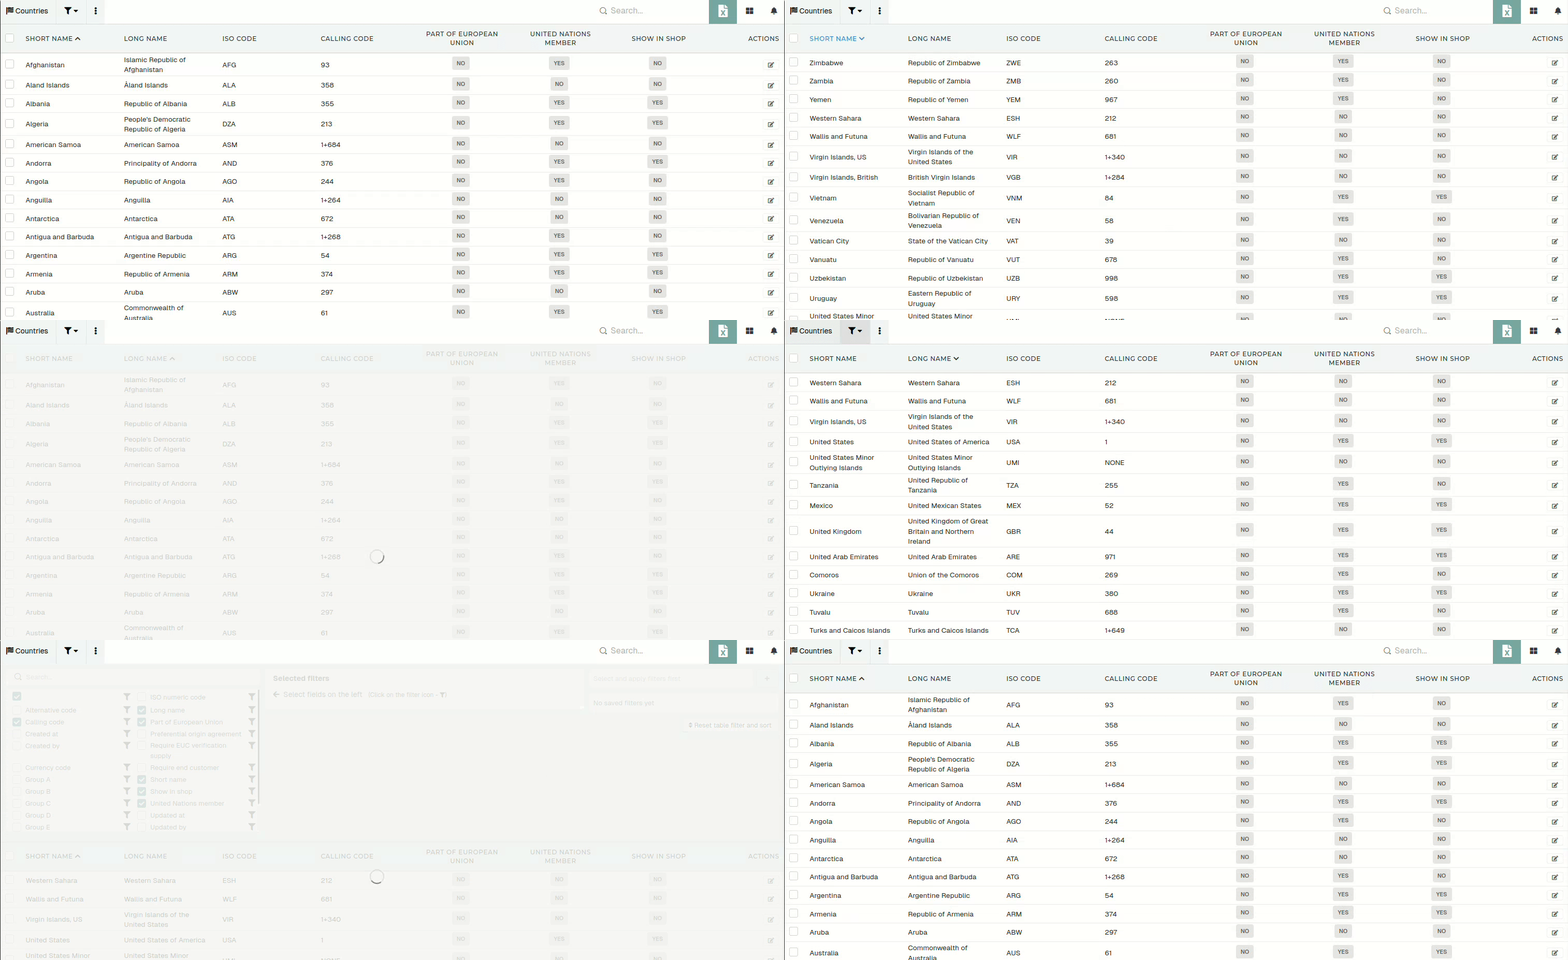
To reset sorting for the current table and reapply default filters, click the "Reset filters and sort" button. To reset visible columns of table back to the default configuration, click the "Reset visible columns" button.

Table pagination
The table pagination can be edited through the toolbar under the table. You can move by a single page at a time or jump to last/first page.
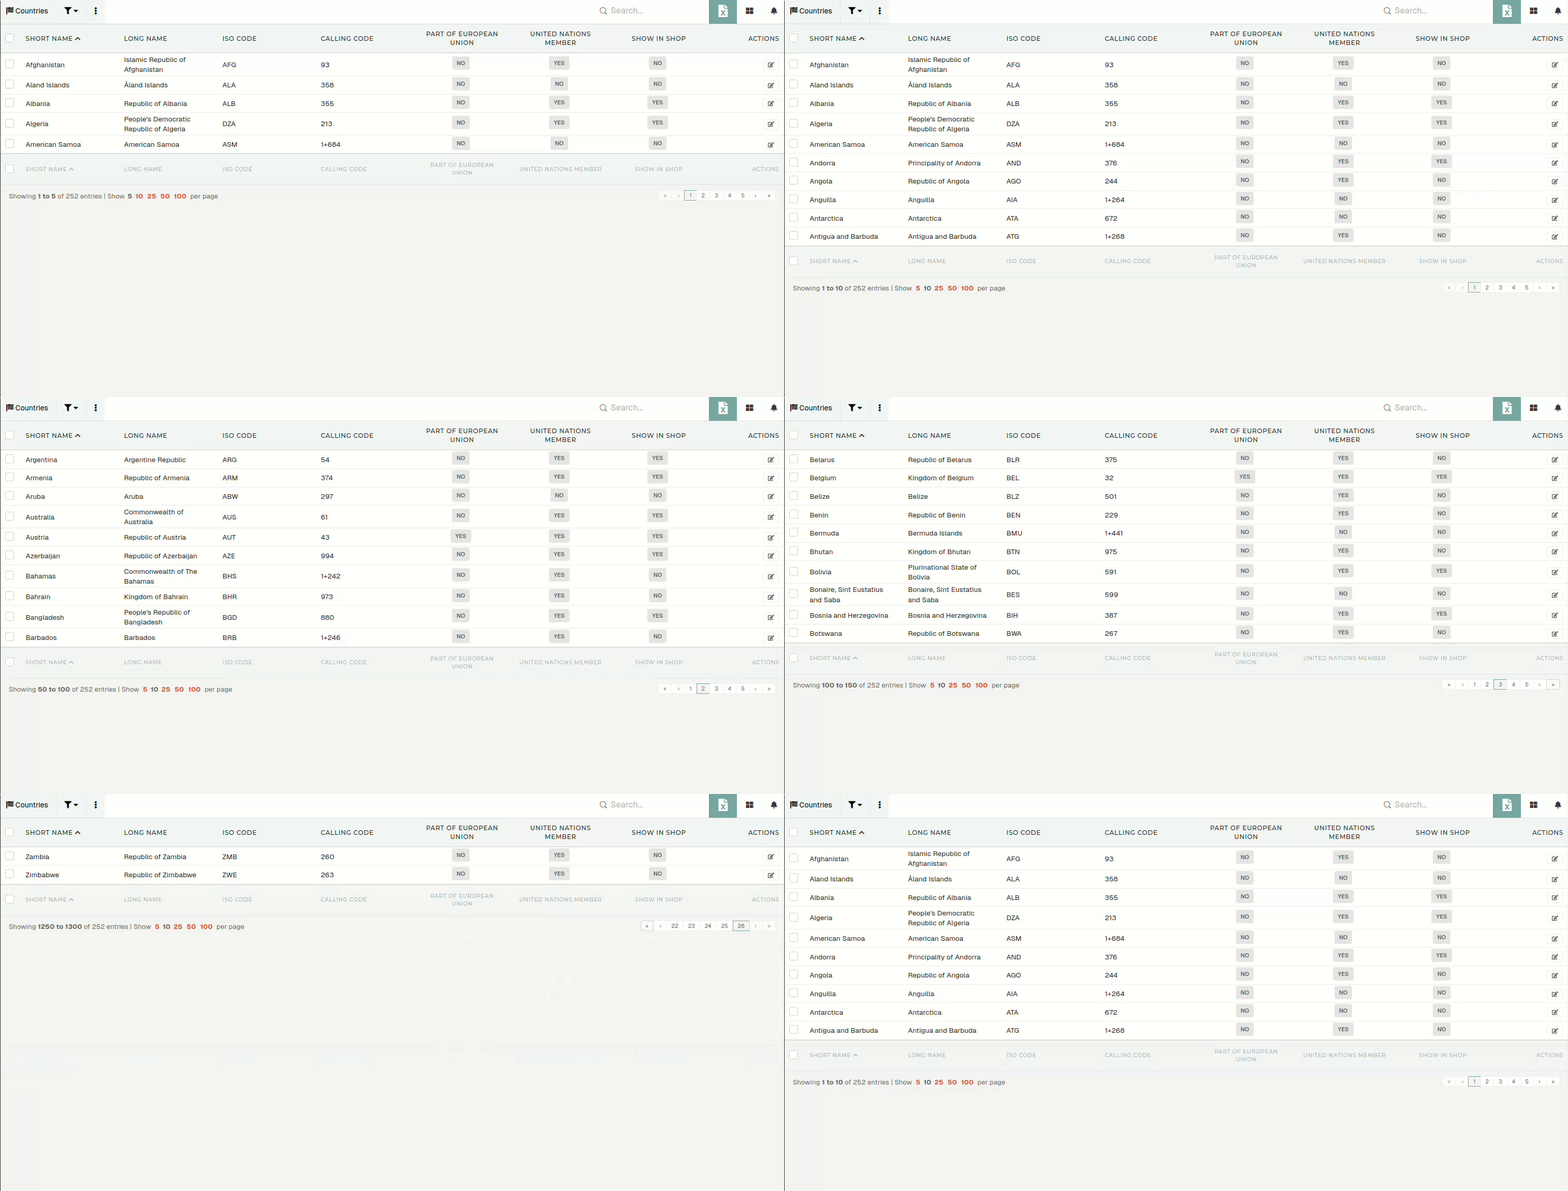
You can set count of records, shown per page (5, 10, 25, 50, 100). A count of all records in the table (Showing 1 to 10 of 252 entries) is shown on the left.
